Watercooling is not only the most efficient method of cooling of high-end components, it also delivers great aesthetics with a wide choice of colours and styles to fully customise your PC. Based on Scan's extensive 30 years' experience as a system integrator here's our guide to watercooling.
Types of PC Cooling
There are three main types of PC cooling available, air-coolers, all-in-one hydrocoolers and custom watercooling loops. The below table gives a quick summary of the pros and cons of each of these types of cooler.
|
|
|
|
|
|---|---|---|---|
| Air Cooler | Hydrocooler | Custom Watercooling | |
| Cooling | Good | Good | Best |
| Complexity to install | Easy | Medium | Hard |
| Cost | Low | Medium | High |
Air coolers and hydrocoolers are discussed further in our AIR COOLING BUYERS GUIDE, but if you definitely want to create the ultimate PC, then this guide will walk you through how watercooling works and all the elements you'll need to consider.
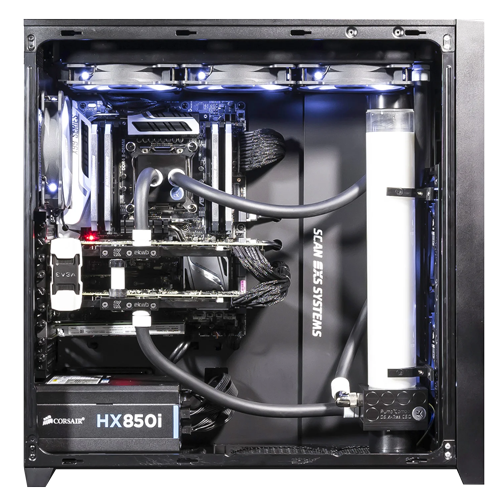
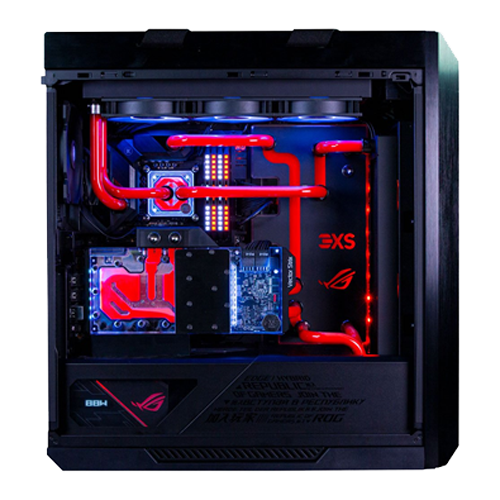
How Watercooling Works
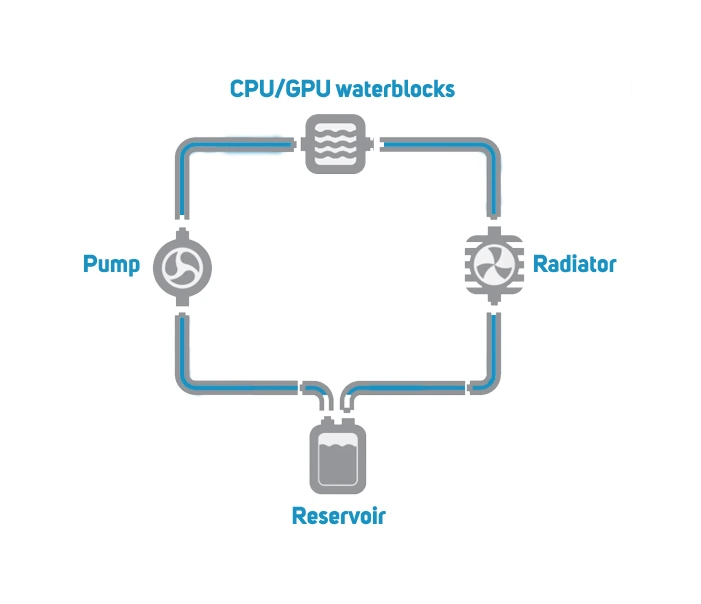
Custom watercooling is lot more complex than either air cooling or hydrocooling. A watercooling loop comprises several distinct components including waterblocks, radiator, pump, reservoir and tubing. The CPU and graphics card waterblocks conduct heat away from the CPU and GPU into a fluid which passes through the tubing into the radiator which is then cooled by one or more fans. The cooled water passes through the reservoir and then back to the waterblocks to start the process again.
The following sections will break down the watercooling loop into its component parts for a deeper dive.
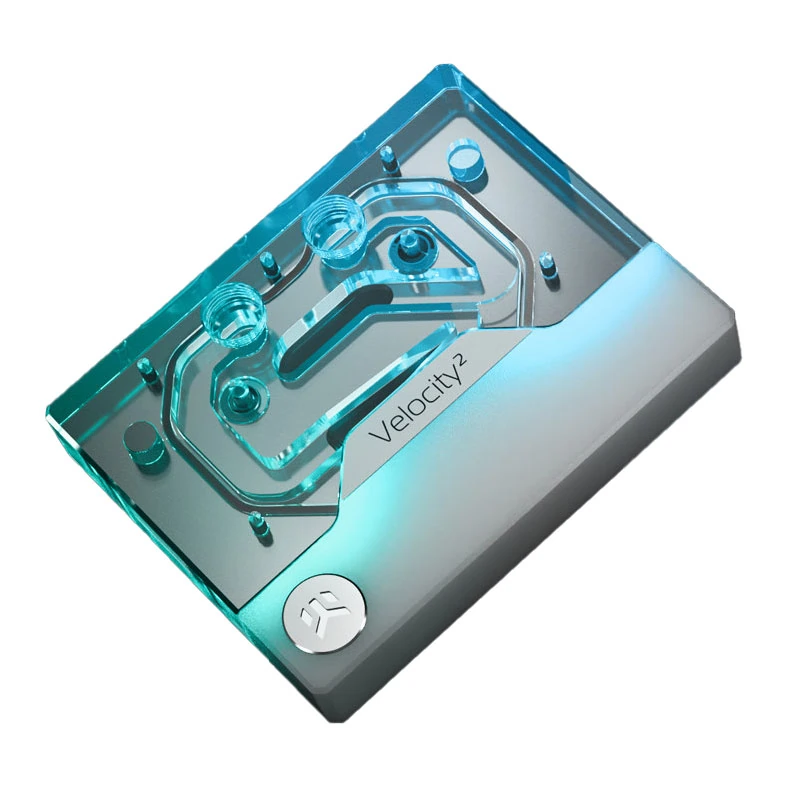
CPU Waterblocks
A CPU waterblock mounts on top of the CPU, conducting heat away into the fluid that flows through the interior. You need to make sure you choose a waterblock that is compatible with your CPU by checking what CPU sockets the waterblock supports. Below is a list of the most common AMD and Intel CPU ranges and their associated sockets, however these tables aren't exhaustive, so check carefully if you're looking for a cooler for an older CPU.
| AMD PROCESSORS | INTEL PROCESSORS | ||
| Processor Family | Socket | Processor Family | Socket |
|---|---|---|---|
| Ryzen 9000 / 7000 | AM5 | Core Ultra Series 2 | S1851 |
| Ryzen 5000 / 3000 / 1000 | AM4 | Core / Pentium / Celeron – 14th gen, 13th gen, 12th gen | S1700 |
| Threadripper 9000 / 7000 | TR5 | Core / Pentium / Celeron – 11th gen, 10th gen | S1200 |
| EPYC 9000 | SP5 | Xeon 6 P | S7529 |
| EPYC 8000 | SP6 | Xeon 6 E | S4710-2 |
| EPYC 4000 | AM5 | Xeon Scalable 5th gen, 4th gen / Xeon W‑3500, W‑2500 | S4677 |
| EPYC 7000 | SP3 | Xeon Scalable 3rd gen | S4189 |
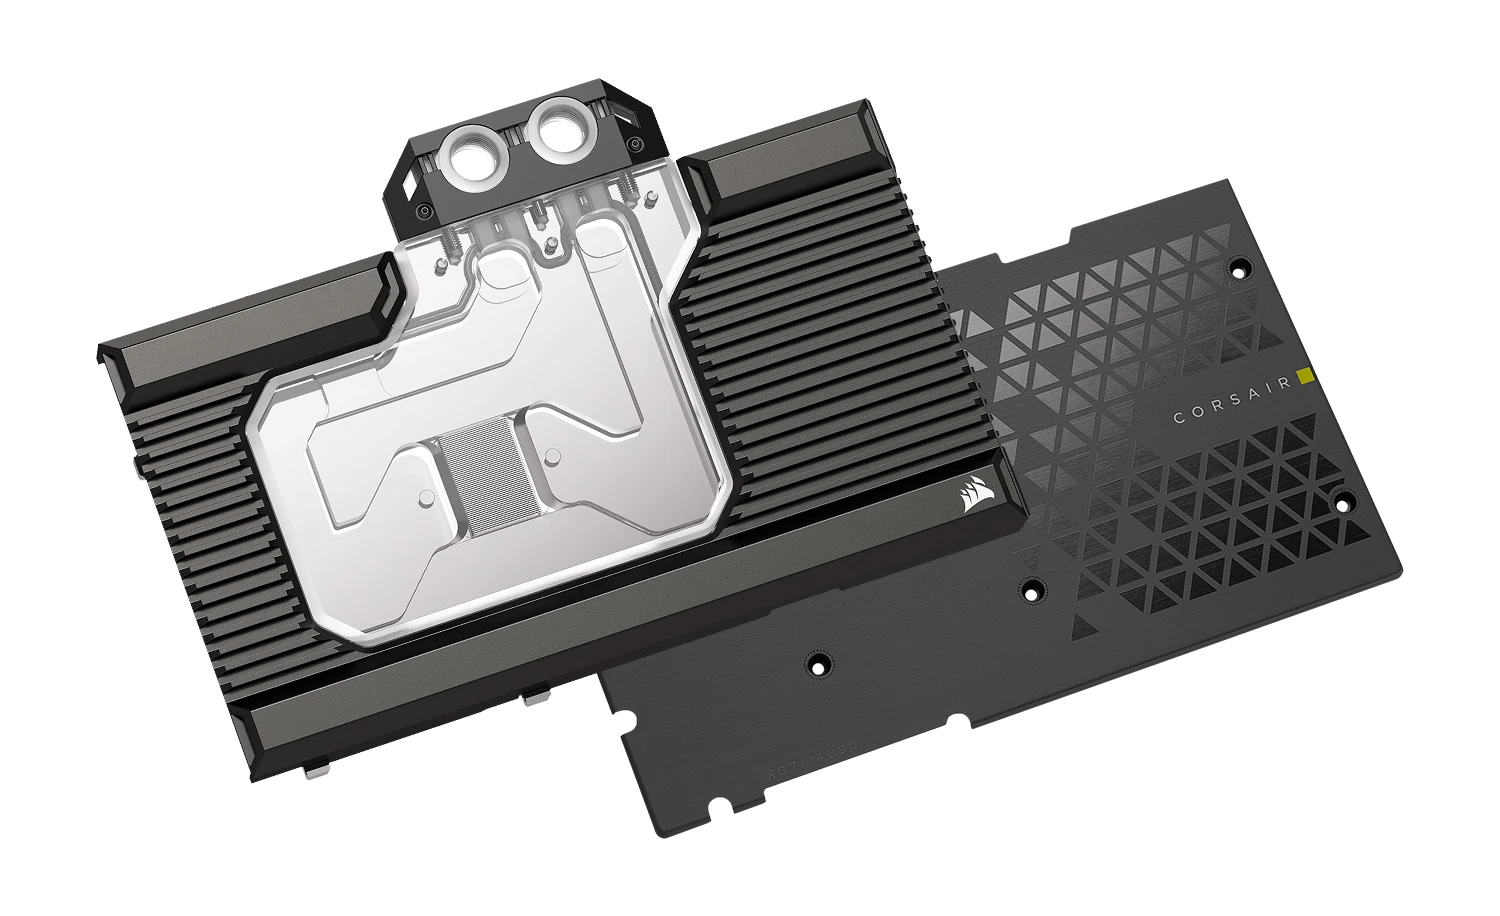
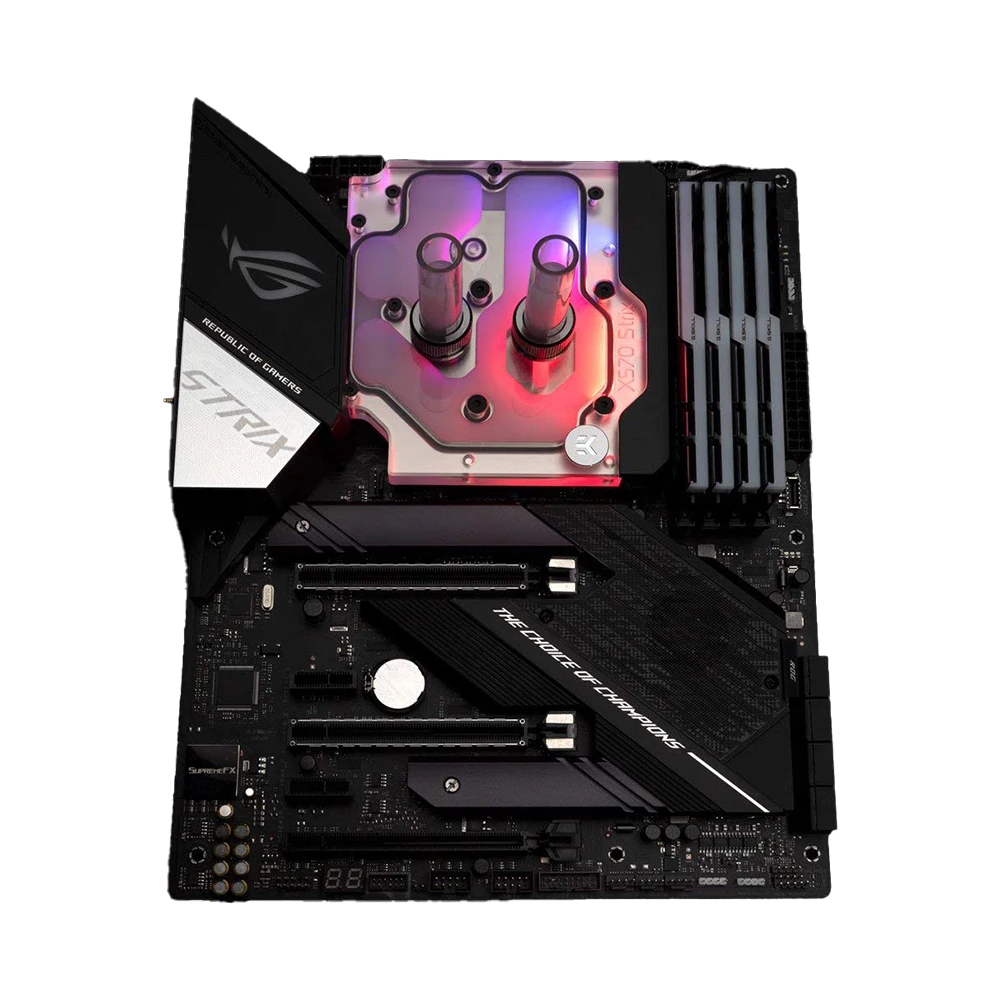
GPU Waterblocks
A GPU waterblock replaces the heatsink and fan on graphics cards, conducting heat away from the hot running components underneath into the water that flows through the interior. You need to ensure you choose a waterblock that is compatible with your graphics card, however this is normally made clear by the name of the waterblock, but do check carefully as different makes and models of GPU have different PCBs and require specific waterblocks.
It's also a good idea to invest in a GPU backplate, not only do these look great, they normally also help to reduce the temperature of components on the back of the PCB by acting as a giant heatsink.
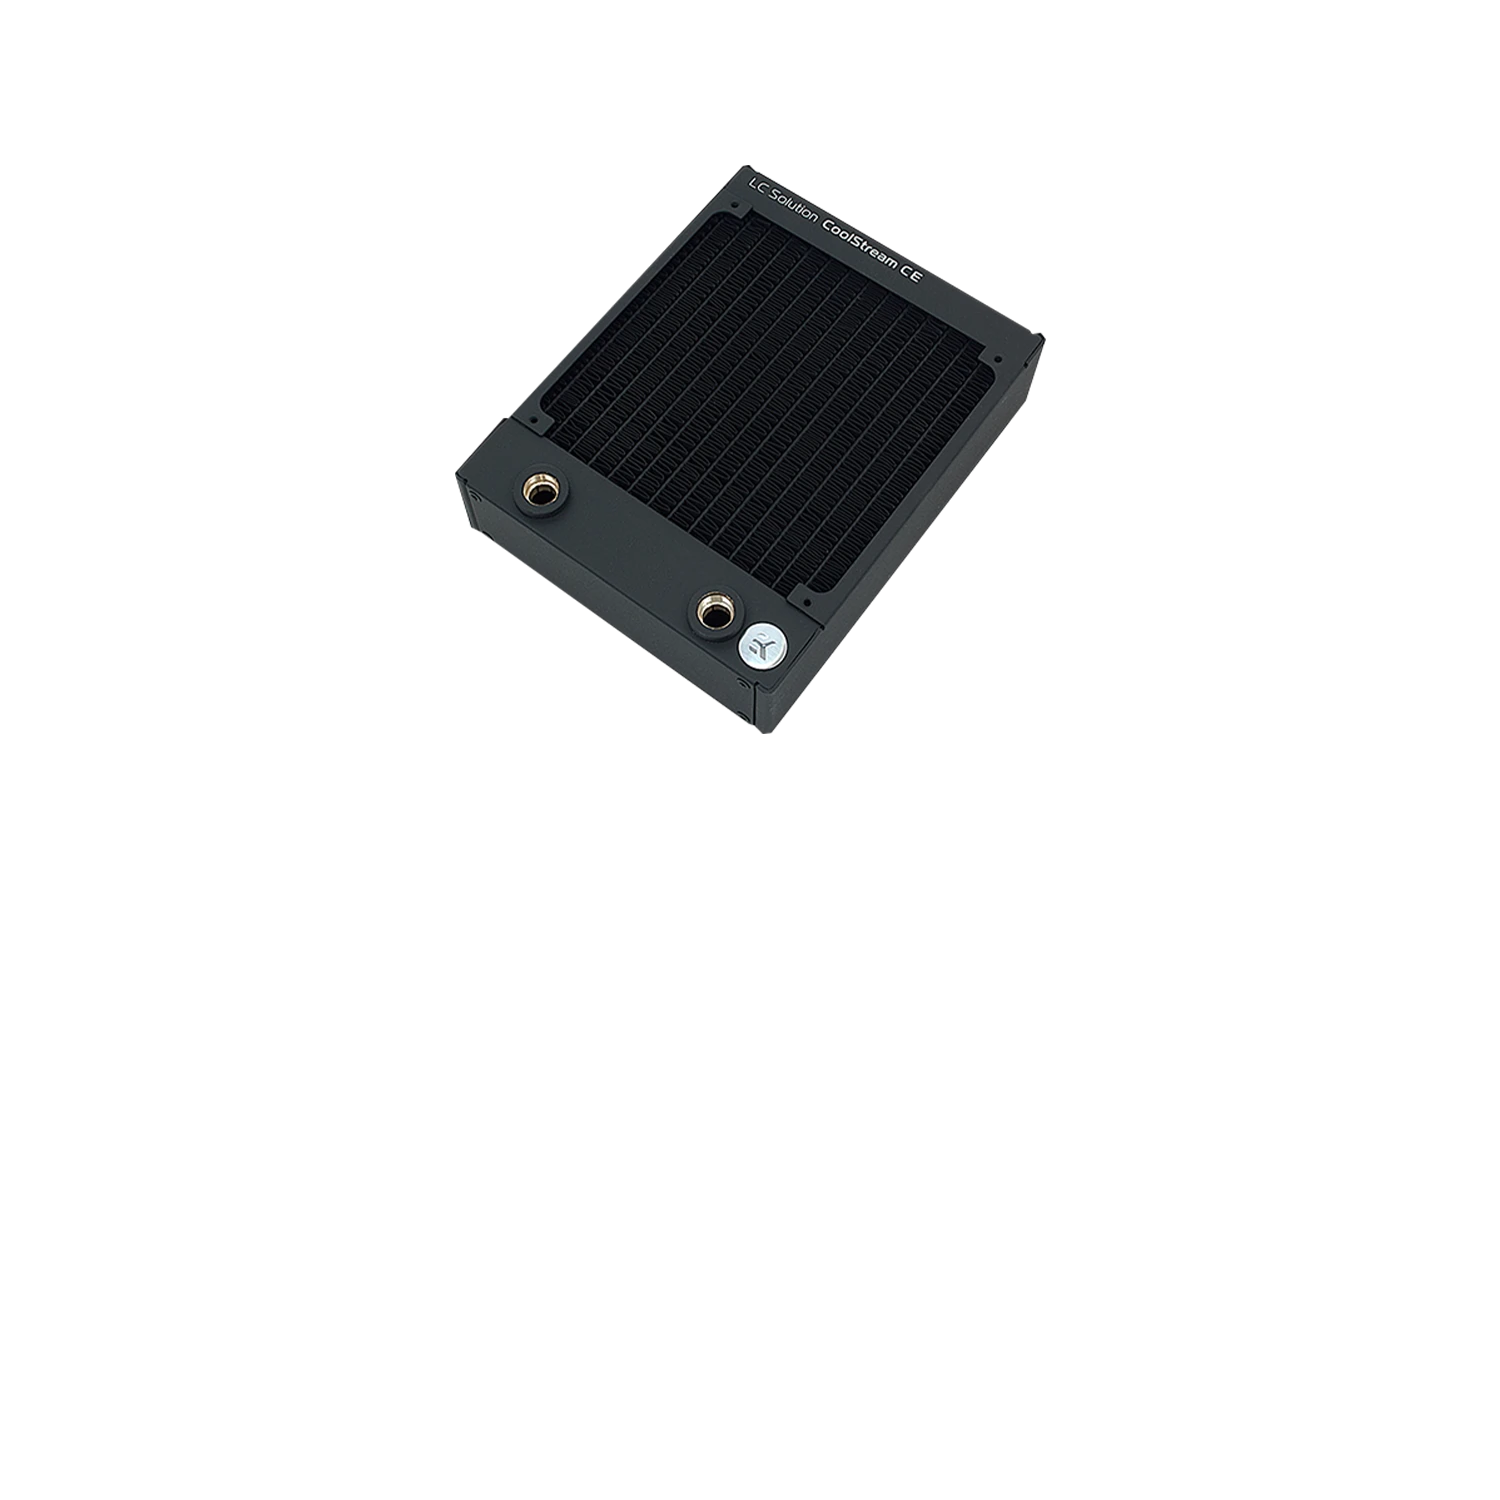
Radiators
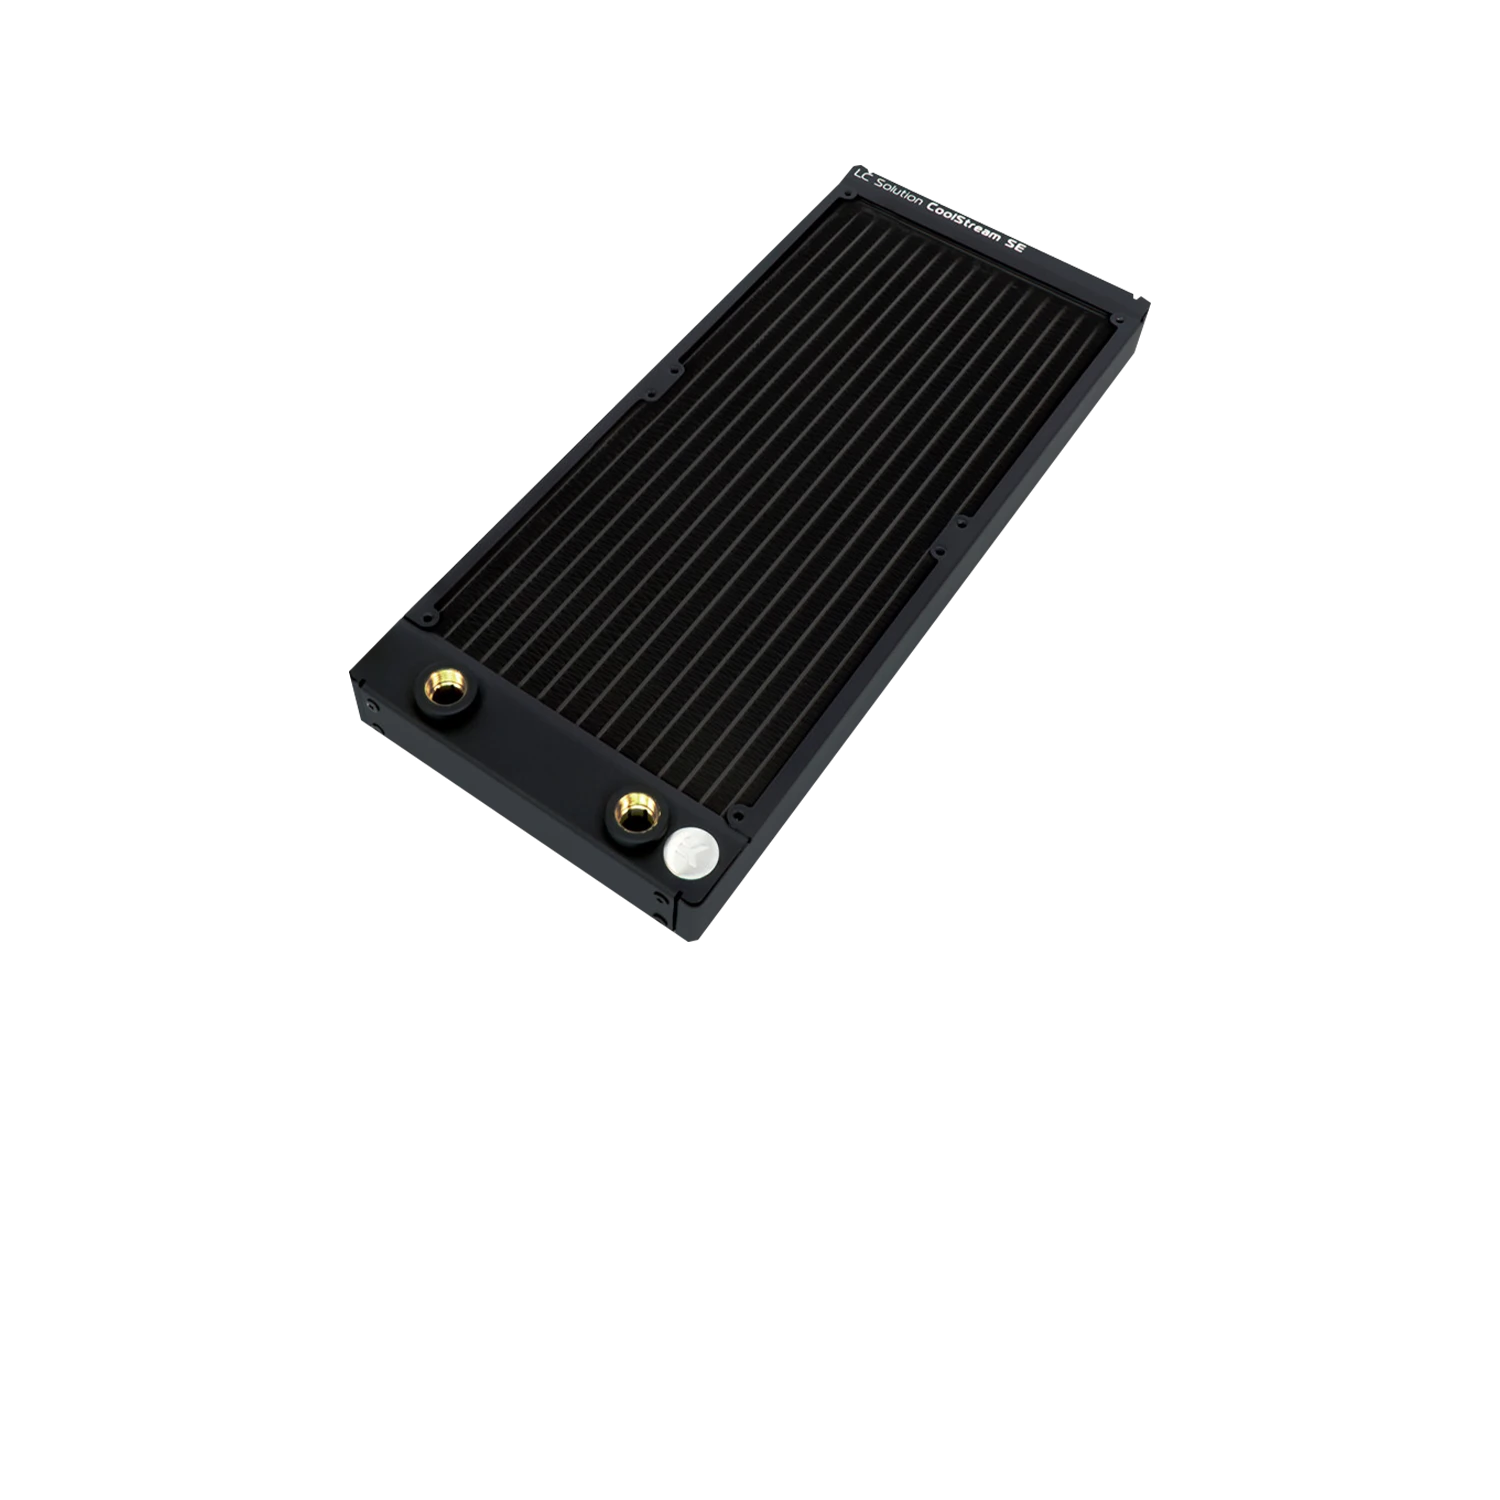
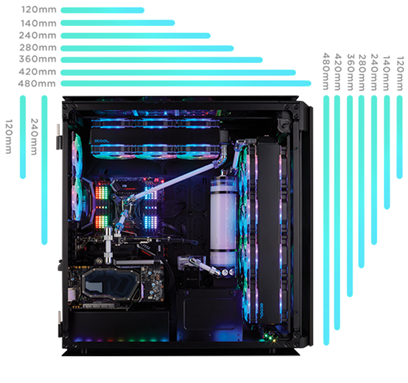
A radiator and its associated fans conduct heat out of the water and into the surrounding air, so it’s important to mount them somewhere in the case with good airflow. Radiators come in four main sizes, 120/140mm for a single fan, 240/280mm for two fans, 360/420mm for three fans and 480/560mm for four fans. The larger the radiator the more heat it can conduct, resulting in a lower temperature for the CPU and graphics card. Large radiators have a side benefit which is that you can use slower and quieter fans, reducing noise.
| Size |
 120/140mm Radiator
|
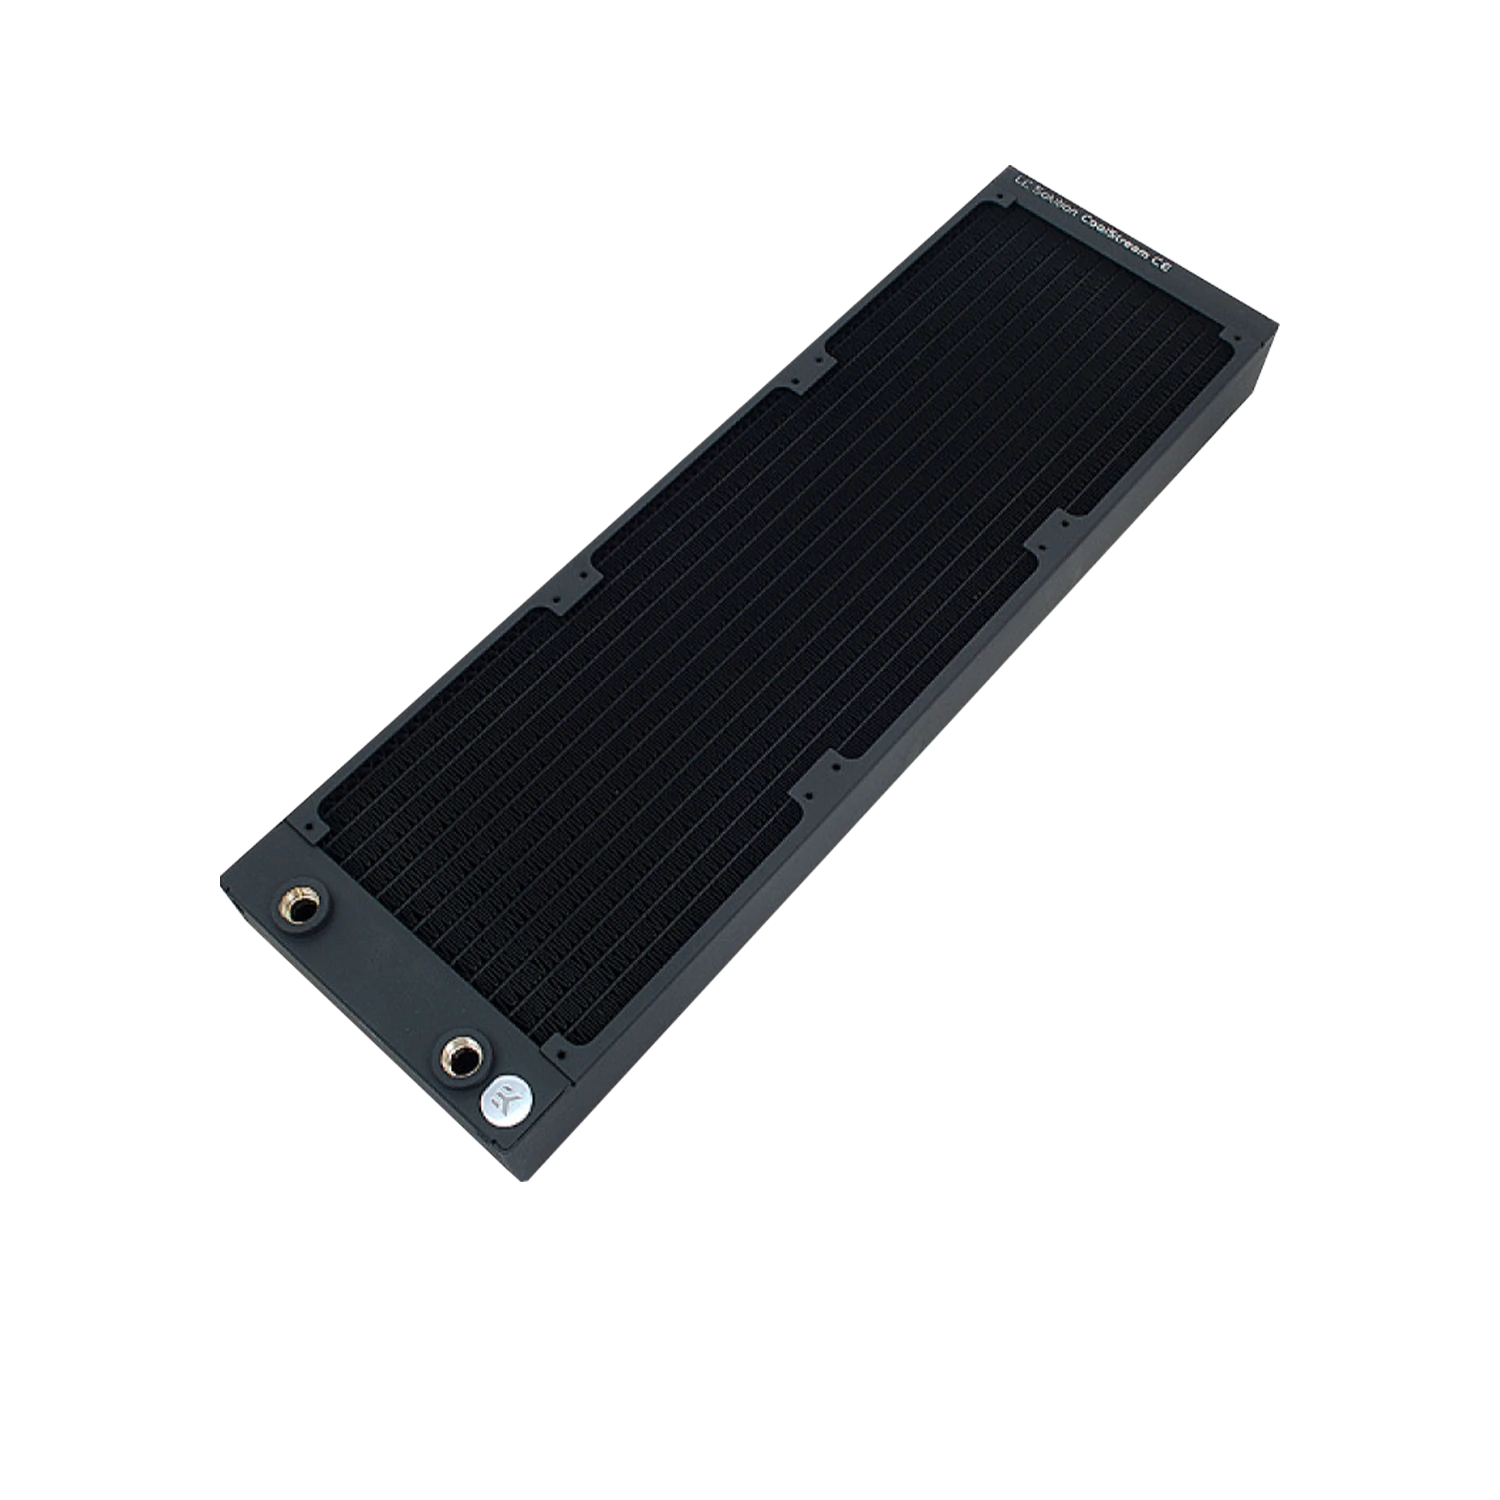
 240/280mm Radiator
|
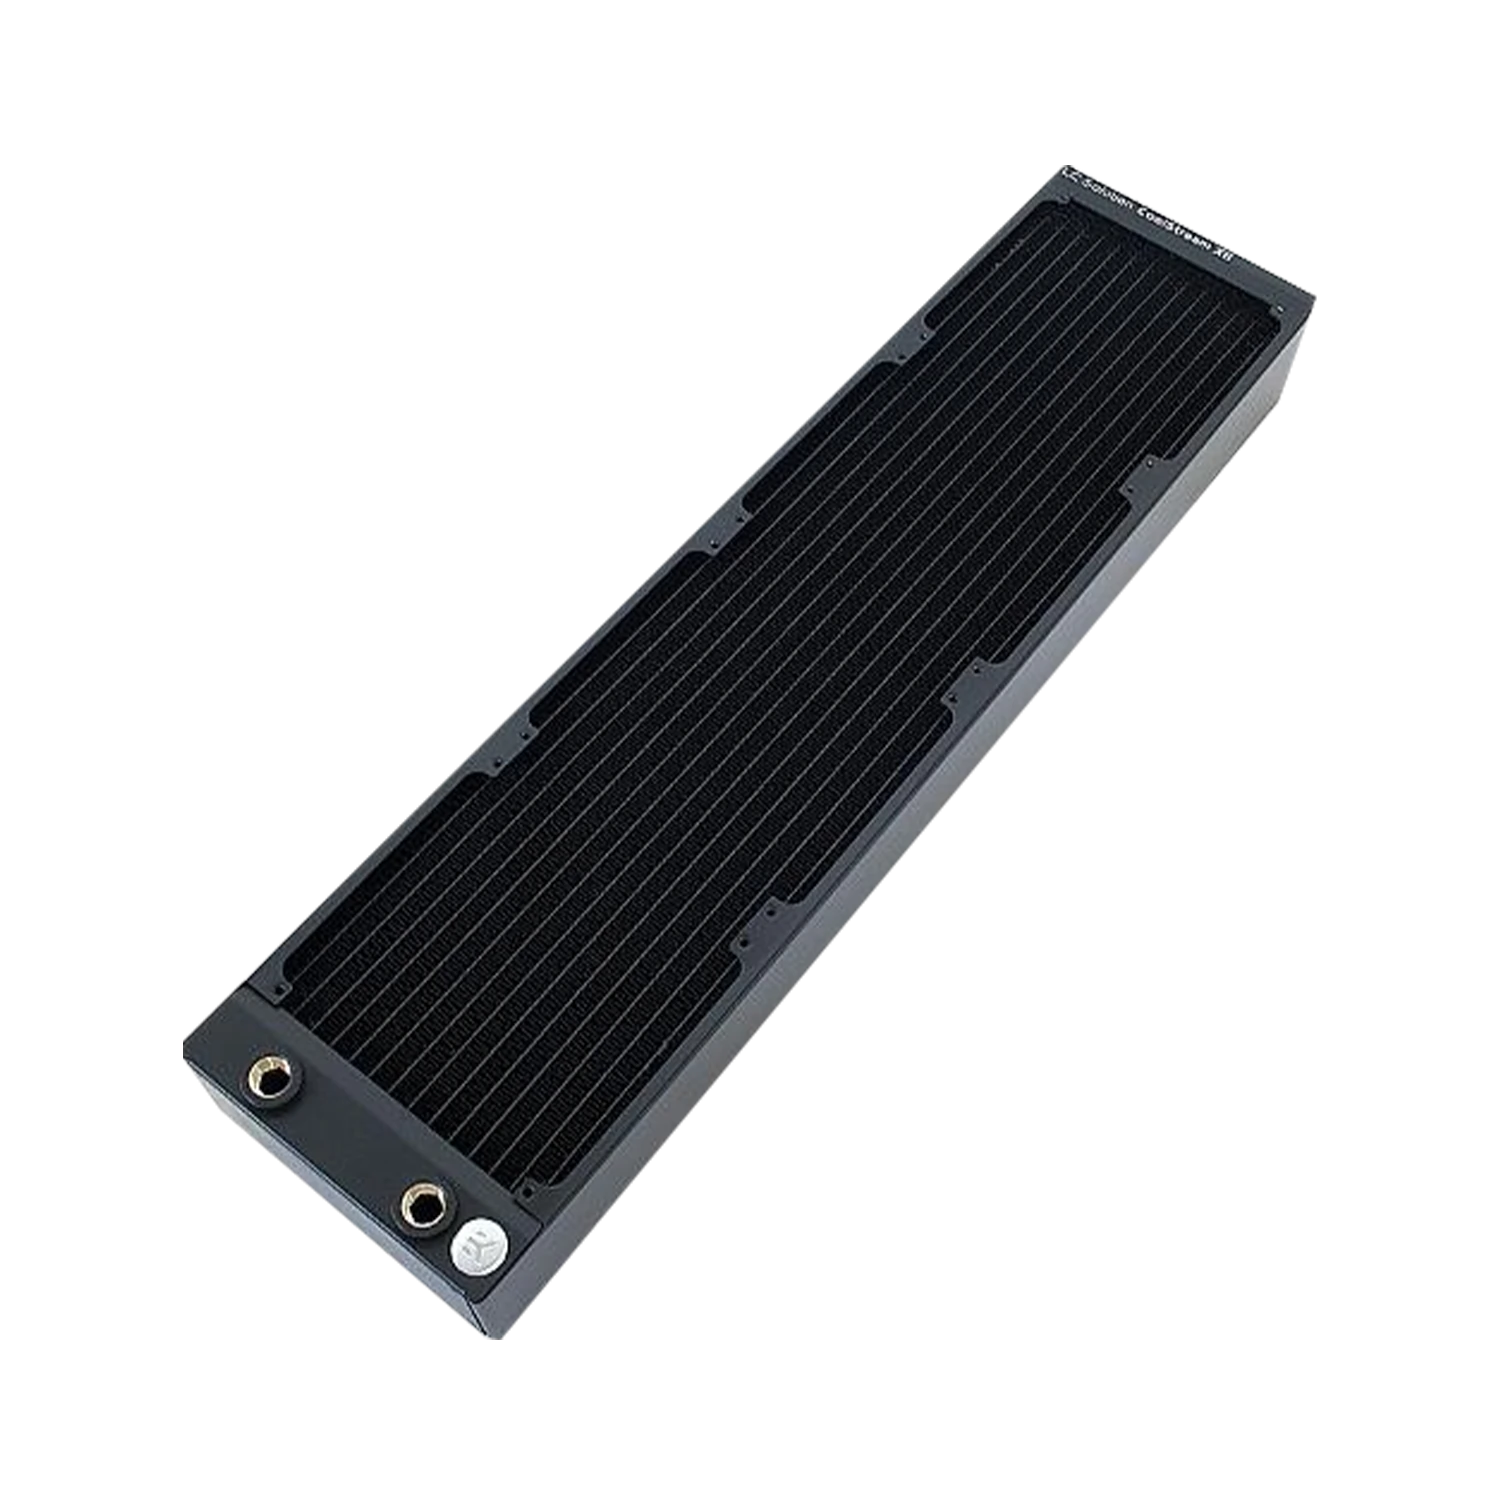
 360/420mm Radiator
|
 480/540mm Radiator
|
|---|---|---|---|---|
| Fans (single-sided) | 1x 120mm or 140mm | 2x 120mm or 140mm | 3x 120mm or 140mm | 4x 120mm or 140mm |
| Fans (dual-sided) | 2x 120mm or 140mm | 4x 120mm or 140mm | 6x 120mm or 140mm | 8x 120mm or 140mm |
Radiators also come in different thicknesses, anywhere from around 25mm up to 60mm. Thicker radiators are theoretically capable of conducting more heat but will require more powerful fans to push air between the radiator's fins. As a general rule of thumb, you should plan for one to two 120/140mm fans of radiator space per component, i.e. CPU, GPU etc. For the ultimate in performance, if space permits, you can also mount fans on both sides of the radiator, configured in a push-pull configuration. Bear in mind that many higher-end components will require more than this, and ultimately the more radiator space the better, as temperatures will be lower and you can configure the fans to run slower and quieter. For instance, many of our 3XS Systems watercooled PCs include two triple-fan radiators to provide the best balance between cooling and noise.
It's important to check that there are compatible radiator mounts in your PC case for the radiator(s). You can check our product pages and click on the Specifications tab to see what size radiators any case supports. You'll also find a diagram for many cases, illustrating the sizes and compatible mounting points, as demonstrated below.
Fans
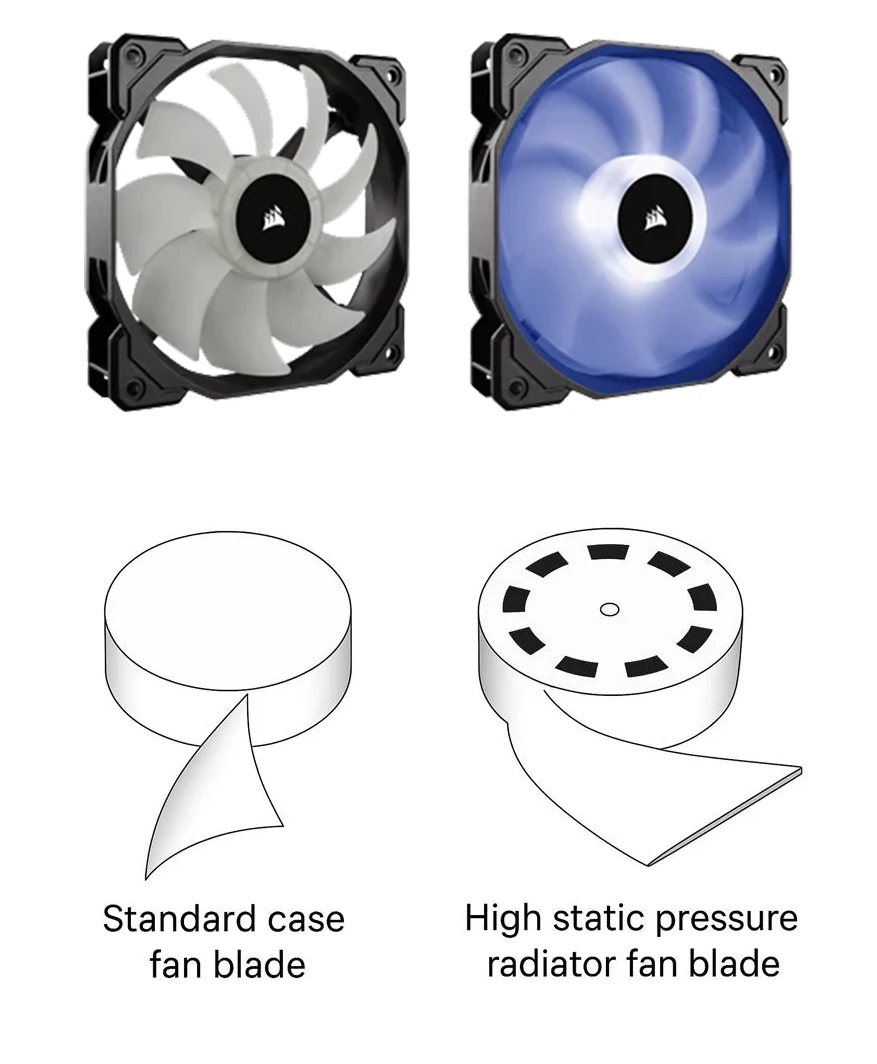
As mentioned above most radiators are designed to support 120mm or 140mm fans, either singularly or in groups of two, three or four, dependent on their size.
However, because radiators are densely packed with fins it's important to choose fans designed to produce high static pressure. Static pressure is different from how much air a fan can move (its airflow measurement), as it is concerned with how effectively the fan can move air around obstacles such as the fins in a radiator. High static pressure fans don't necessarily have a higher airflow rating than case fans, instead they use differently shaped blades, mounted at a flatter angle to provide the higher static pressure, as illustrated above.
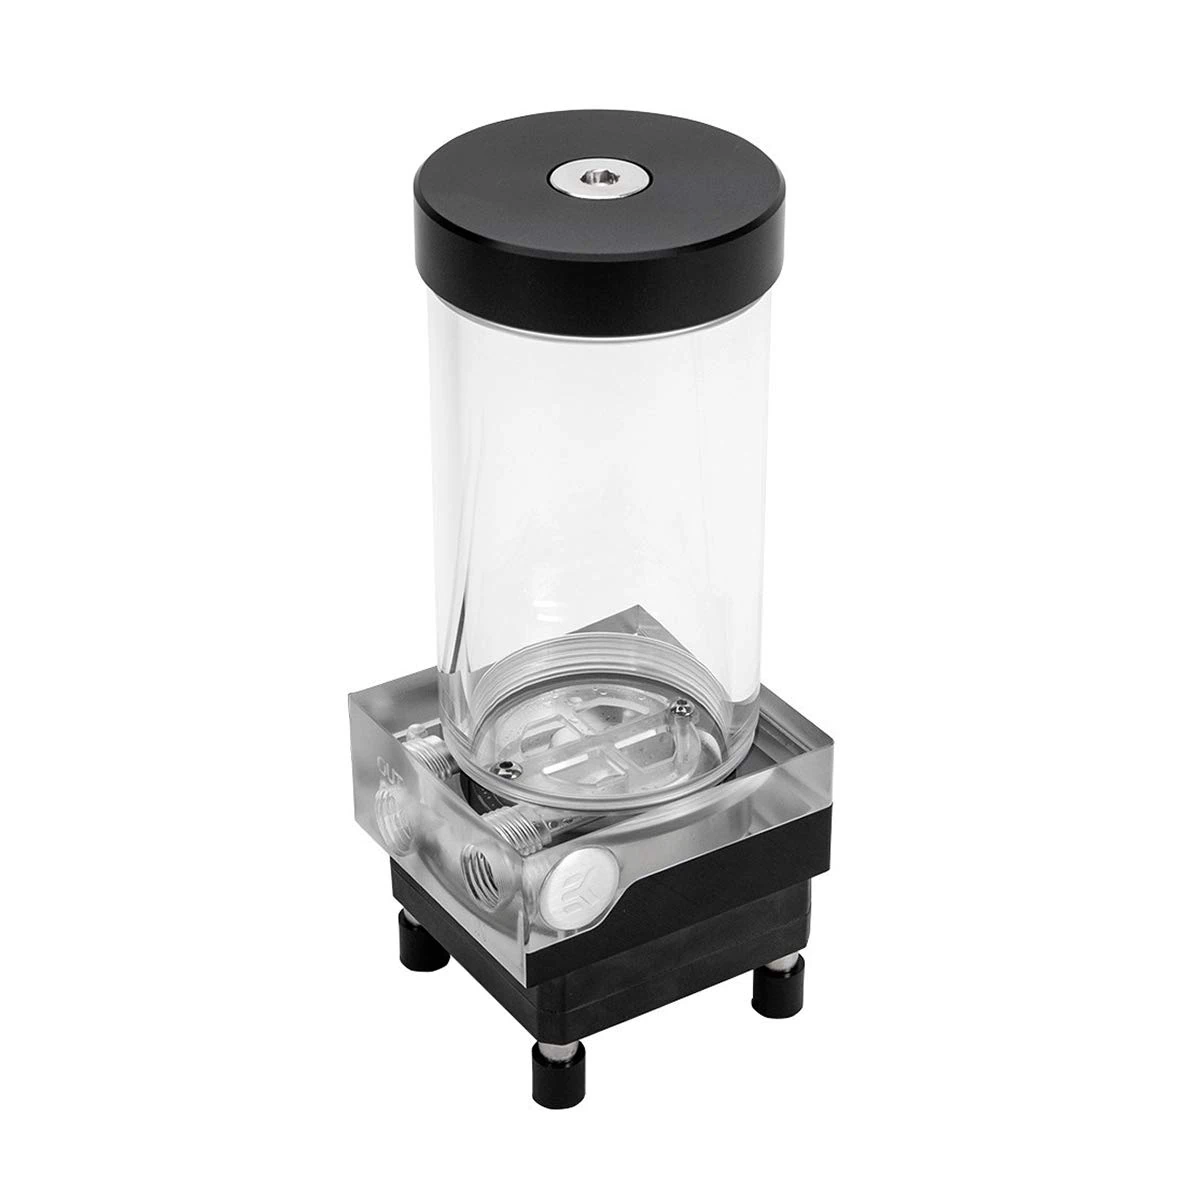
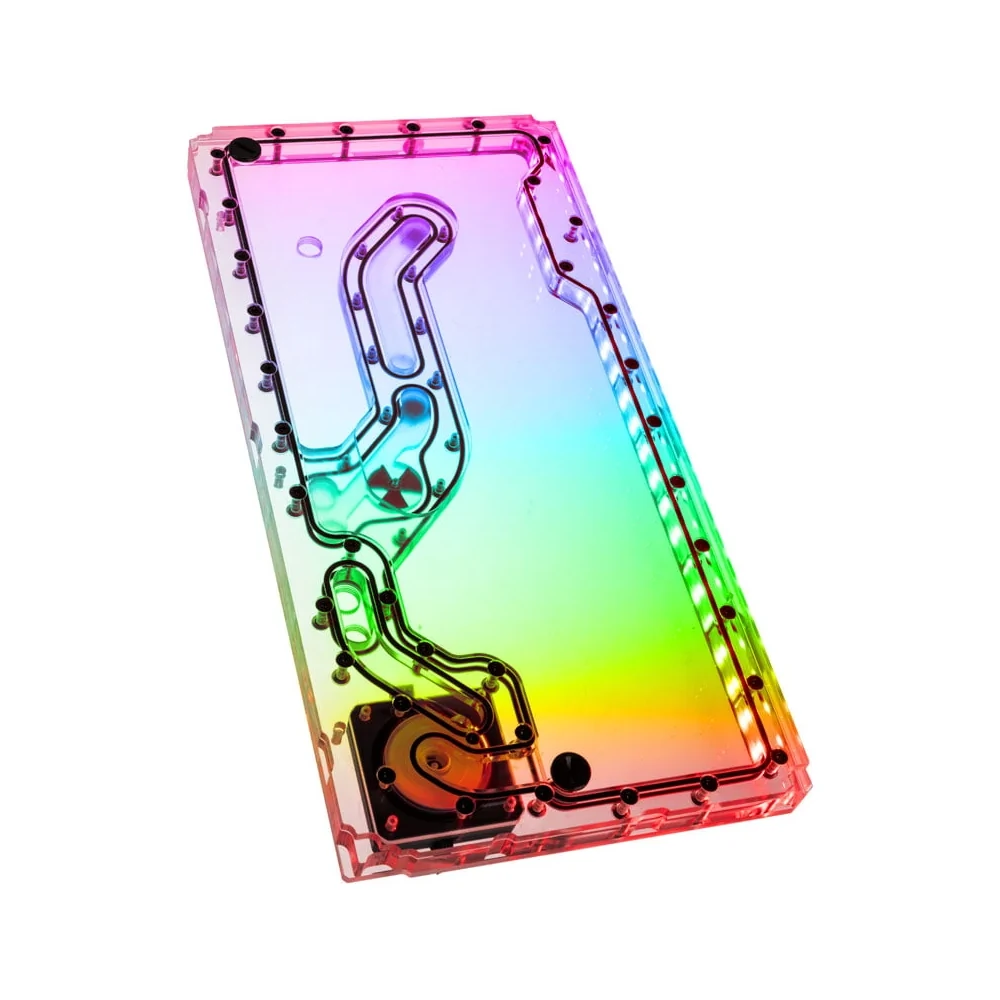
Water Reservoir
The reservoir stores extra water in the loop and helps separate air bubbles from the water as it passes through. This is important as excess air bubbles will reduce the effectiveness of the waterblocks, radiator and pump, leading to increased temperatures and unnecessary noise. Most reservoirs are made of transparent plastic so you can see the water, but are available in a wide variety of shapes, sizes and finishes, including RGB lighting. You should think about where you intend to install the reservoir in the PC case, as it will perform best positioned vertically, as shown above.
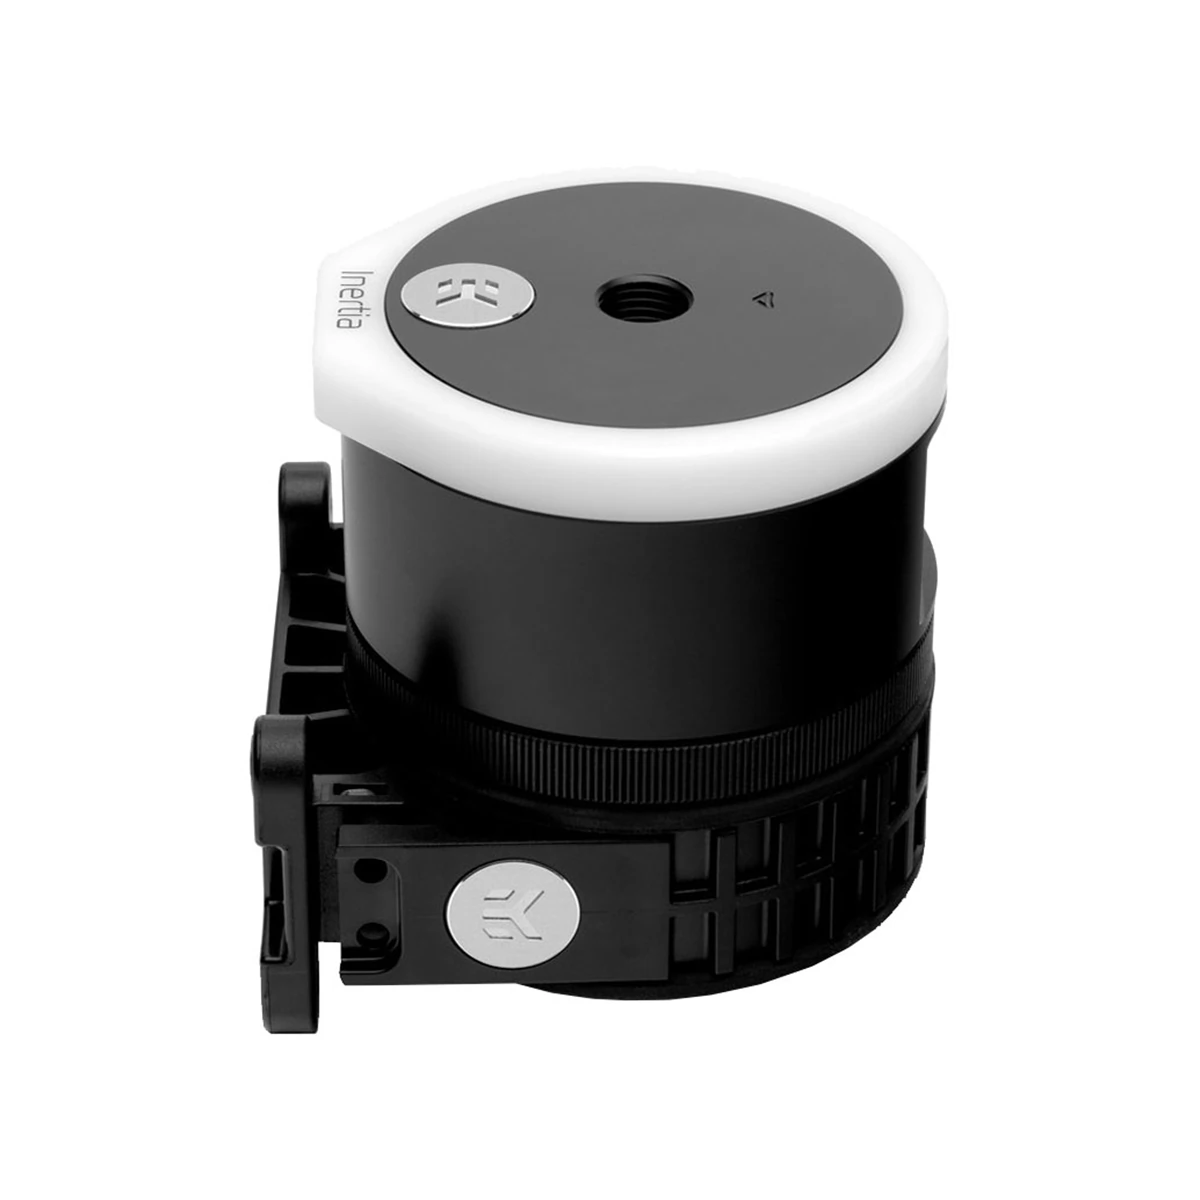
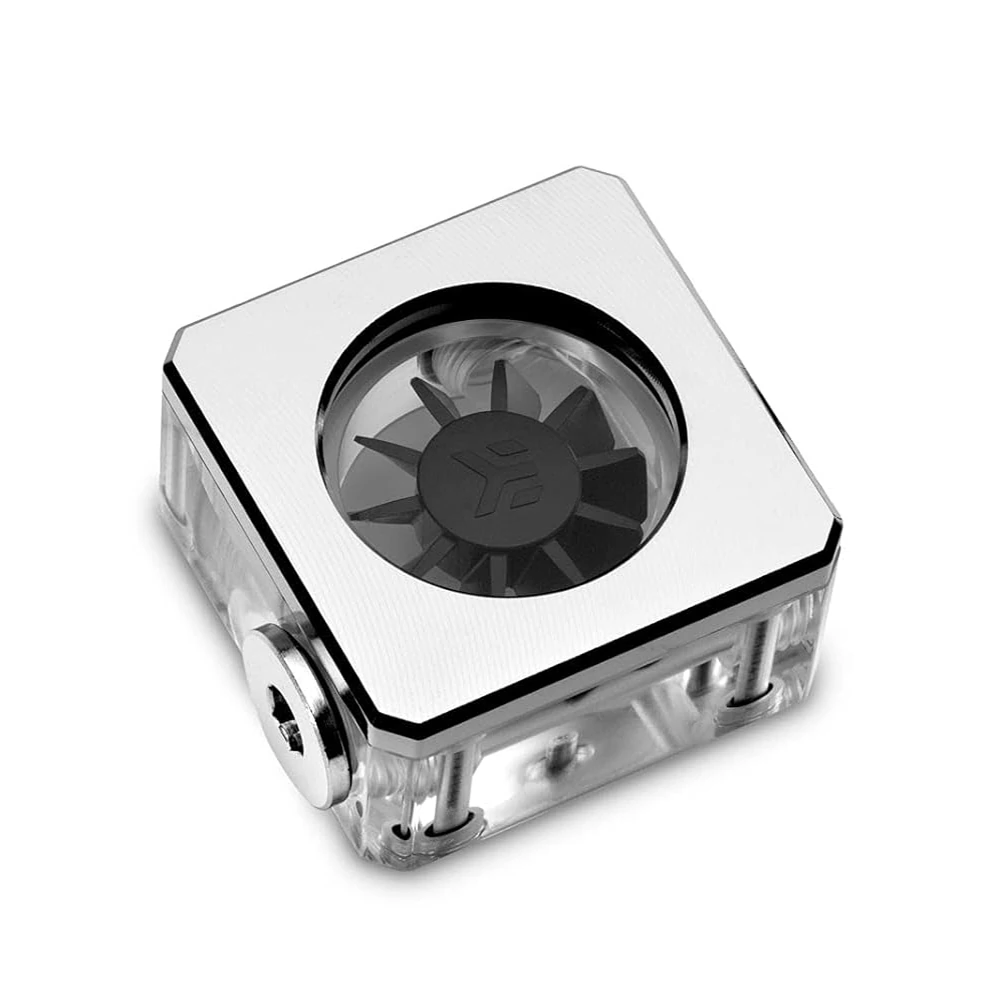
Water Pump
The pump is the heart of a watercooling loop, as it moves the water between all the other components conducting heat away. It stands to reason that loops with multiple waterblocks and larger radiators will require a more powerful pump (measured in litres per hour). It is vital to make sure the pump is securely mounted to the case, preferably with a sound absorbing mount, otherwise the pump's action will cause the whole case to vibrate. It is also possible to buy combined pump / reservoir kits that may save space.
Tubing
Hollow tubes are used to transfer the water between all the components of the loop. Tubing is available in a variety of materials but will fall into one of two main groups, flexible or hardline. Before you choose the type, make sure you consider the size. It's important to check the internal and external diameter of the tubing to ensure its compatible with the other components in the loop. As a general rule of thumb, the larger the diameter the lower the temperatures as there will be more water in the loop. The downside is that larger diameter tubing is more awkward to work with and may not fit at all in smaller cases. Flexible tubing is easy to work with, but can lead to unsightly arcs of tubing stretching across the inside of your PC. Flexible tubing is available in a variety of colours, including transparent so you can see the water inside.
Flexible tubing
Hardline tubing
Cutting, shaping and installing hardline tubing is much more involved, as it has to be heated and bent to shape, but the end result is much more impressive. A word of caution, hardline tubing is less hardy than flexible tubing and can easily come lose in transit, so be extra careful transporting a PC with hardline tubing. The other downside is that if you change or move a component you will almost certainly have to cut and reshape new hardline tubing. Hardline tubing is available in a variety of materials and colours, including transparent so you can see the water inside.
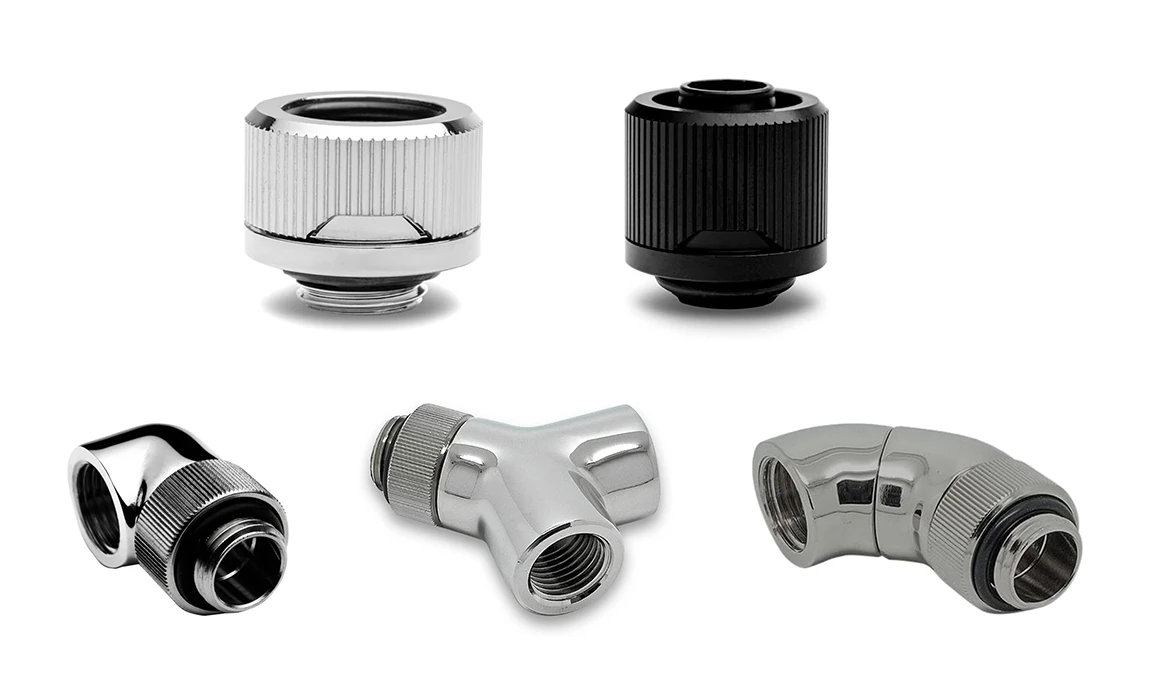
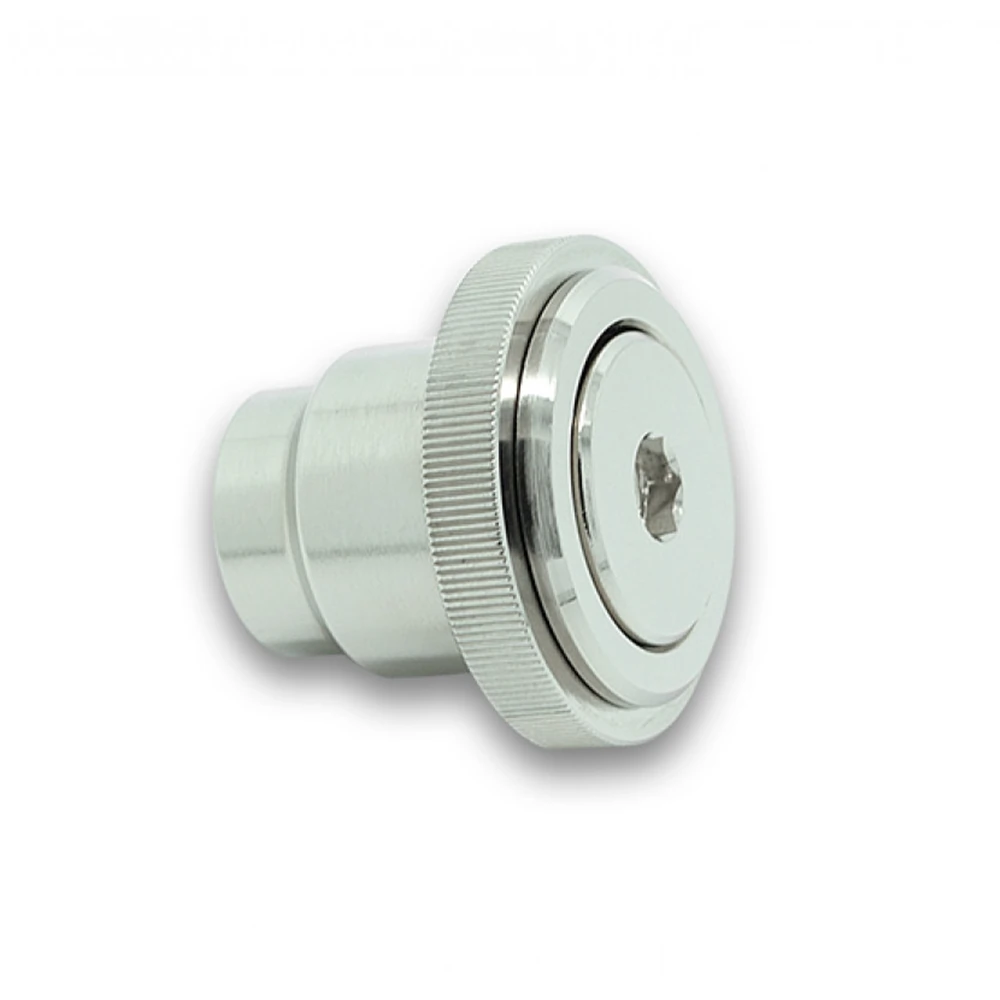
Fittings
Fittings are used to secure the different components of the loop to the tubing. You'll need two fittings (one in, one out) for each component, making sure to choose flexible or hardline fittings when appropriate, and that they are the right diameter for your tubing. Fittings are available in a wide variety of finishes so you can match them to the rest of the loop. Fittings are even available in different shapes, including 45° and 90° angles, y-splitters and x-splitters.
Water
The importance of choosing the right sort of water or coolant for your loop shouldn't be underestimated. Don't be tempted to use standard tap water as its full of particles and bacteria that over time will clog up the loop reducing its effectiveness. You have three main choices to make, the easiest is a pre-mixed coolant that you simply pour into the reservoir. Your second choice is a concentrated coolant that you dilute in deionised water. Finally, your other choice is buying a dye that you add to deionised water. Whichever route you choose to go down there are a huge variety of colours to choose from, some of which react differently under UV light. You can even mix your own colour by mixing different dyes together. The majority of the above options also include corrosion and algae inhibitors, which will prolong the lifetime of the fluid, however, at some point, typically after a couple of years you will need to drain and clean the loop before refilling it with fresh coolant.

Watercooling Accessories
You can also enhance your watercooling loop with one of the following accessories. Please note these are optional and not strictly required, but can help improve the functionality or look of your watercooled PC.
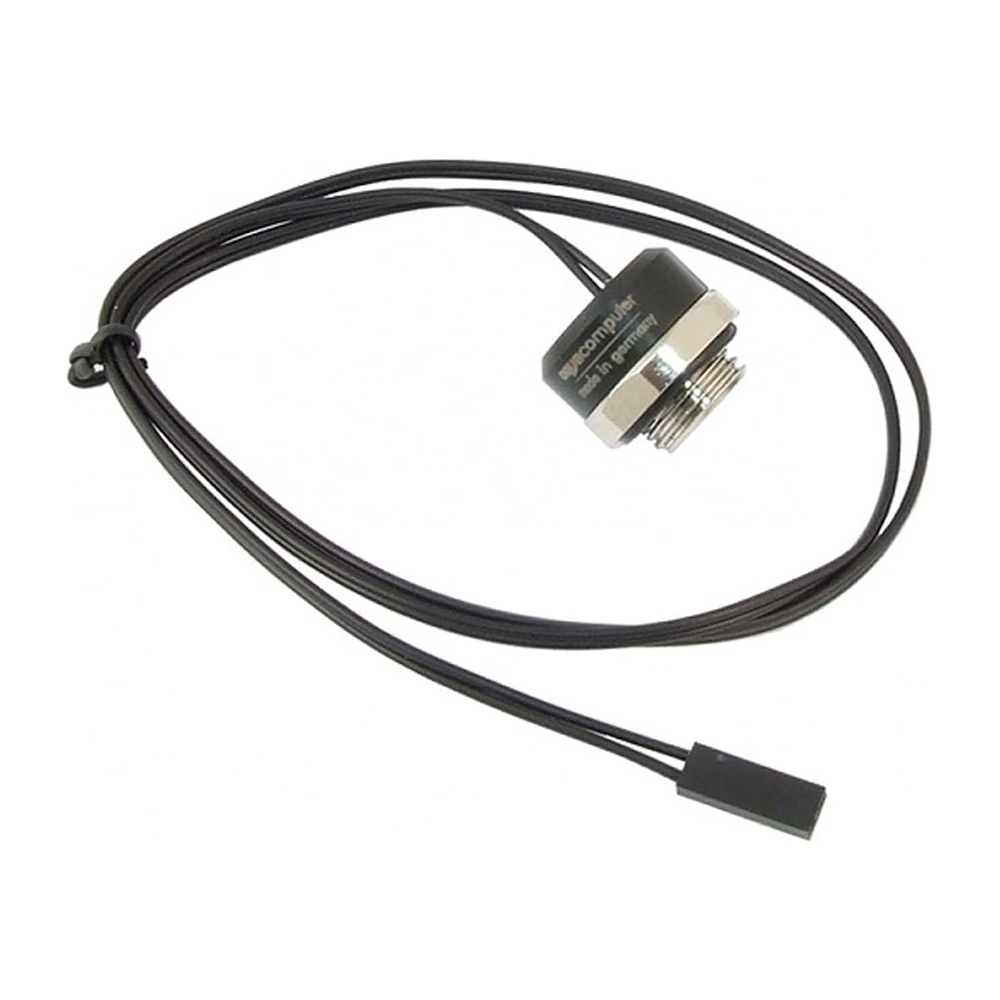
Flow Meters
Adding a flow meter to the loop allows you to monitor the flow rate of the water, giving you an early warning of any problems. They also look cool whirling away.

Managing Noise
There are multiple ways to control the speed of the fans and pump in your watercooled PC. The easiest way is via the motherboard BIOS. Many higher-end motherboards include Windows software, such as Asus Fan Xpert, Gigabyte Control Center and MSI Center, that provides the same capabilities but with greater convenience and additional features such as speed curves and RGB lighting effects.
Installation
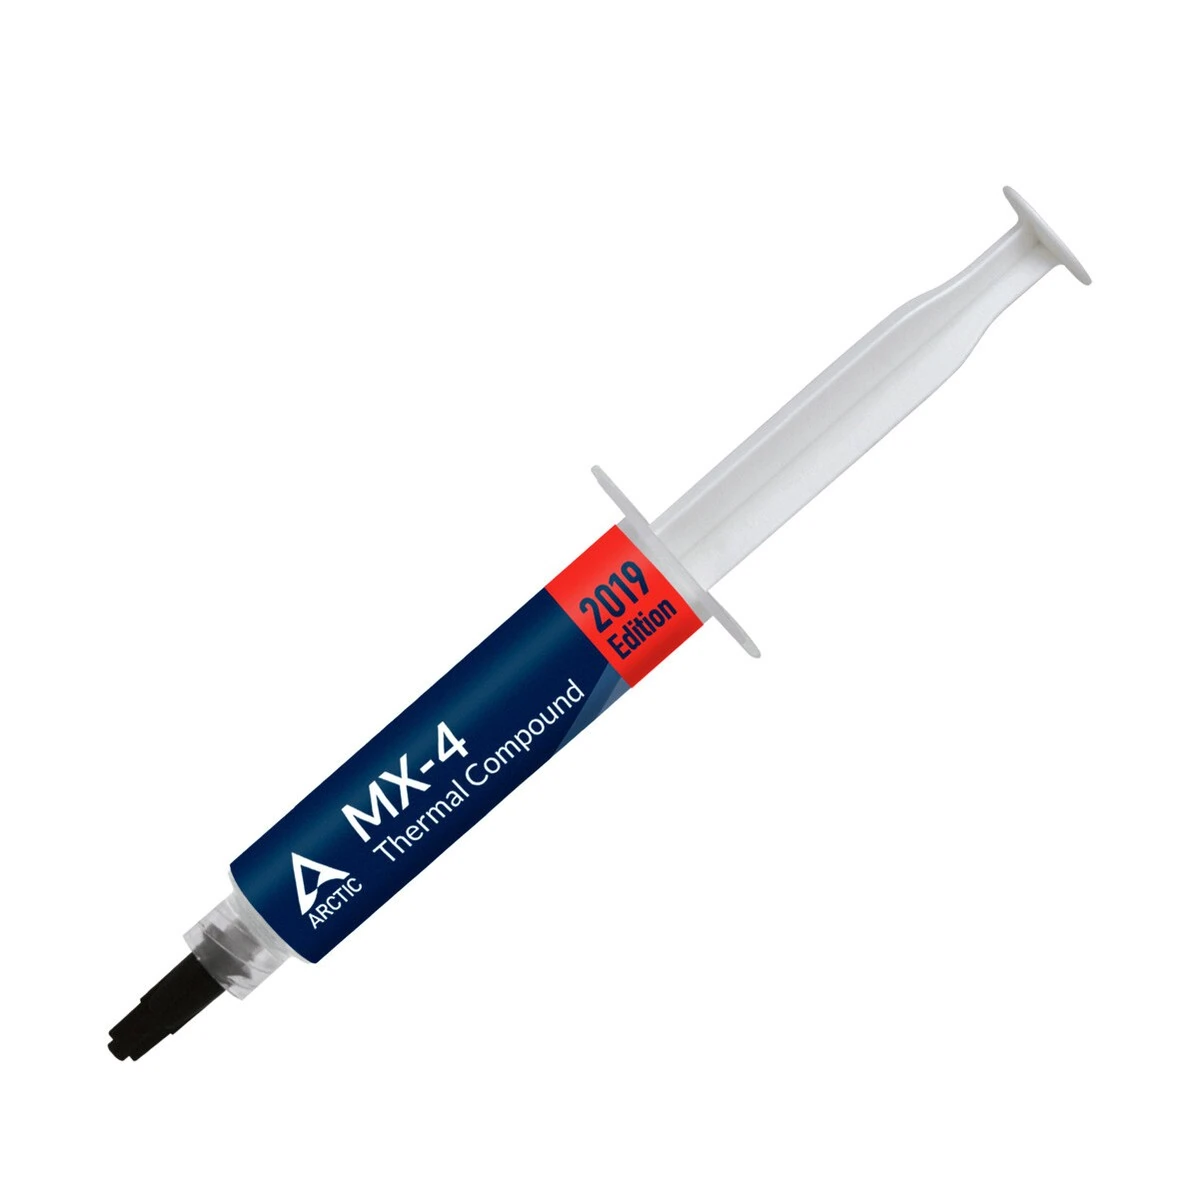
When watercooling components are installed in a PC, you need to ensure that Thermal Interface Material (TIM) is used. This is a thin layer of paste that you spread out between each component and the waterblock.
TIM helps conduct heat by smoothing out imperfections in the surface on either side and is essential for good cooling. There are many brands and qualities available.
Ready to Buy?
Browse our selection of watercooling to find the perfect fit for your setup.
Alternatively, if you like the idea of a watercooled PC, but found the whole selection process daunting then you could opt for one of our 3XS WATERCOOLED PCS or visit our CUSTOM SHOP to create a truly one-off watercooled PC handcrafted by our 3XS Systems team.
If you still have questions about watercooling don't hesitate to contact one of our friendly advisors on 01204 474747.
Frequently Asked Questions FAQ
Here are some common questions and answers to help you learn more about watercooling your PC.
Yes, you can - watercooling is the best way of keeping a high-end CPU and GPU cool. Not only that, you can decide what colour scheme and type of tubing to use, giving your PC a truly stunning and individual look.
If you have a high-end CPU and GPU, especially if you're planning on overclocking, then water cooling your PC is the best way to keep these components cool. Not only that, you can decide what colour scheme and type of tubing to use, giving your PC a truly stunning and individual look.
If you have a high-end CPU and GPU, especially if you're planning on overclocking, then water cooling your PC is the best way to keep these components cool. Not only that, you can decide what colour scheme and type of tubing to use, giving your PC a truly stunning and individual look.
Watercooling is the most expensive form of cooling system compared to air coolers and all-in-one hydrocoolers. It's also more complex to install, and you need to be careful not to let any water spill out when the PC is connected to the mains.
If you have a high-end CPU and GPU, especially if you're planning on overclocking, then water cooling your PC is the best way to keep these components cool. Not only that, you can decide what colour scheme and type of tubing to use, giving your PC a truly stunning and individual look.
Watercooling a PC is much more complex than installing an air cooler or all-in-one hydrocooler. We would only recommend it to somebody who has built several PCs in the past, and who is confident with cutting and shaping the tubing to fit. Don't worry though, if you find the idea daunting then you could buy a professionally-built 3XS WATERCOOLED PC or visit our CUSTOM SHOP to and we'll create a truly one-off watercooled PC for you.
We recommend that after a couple of years you need to drain and clean the loop before refilling it with fresh coolant.
Yes, we recommend that after a couple of years you need to drain and clean the loop before refilling it with fresh coolant.