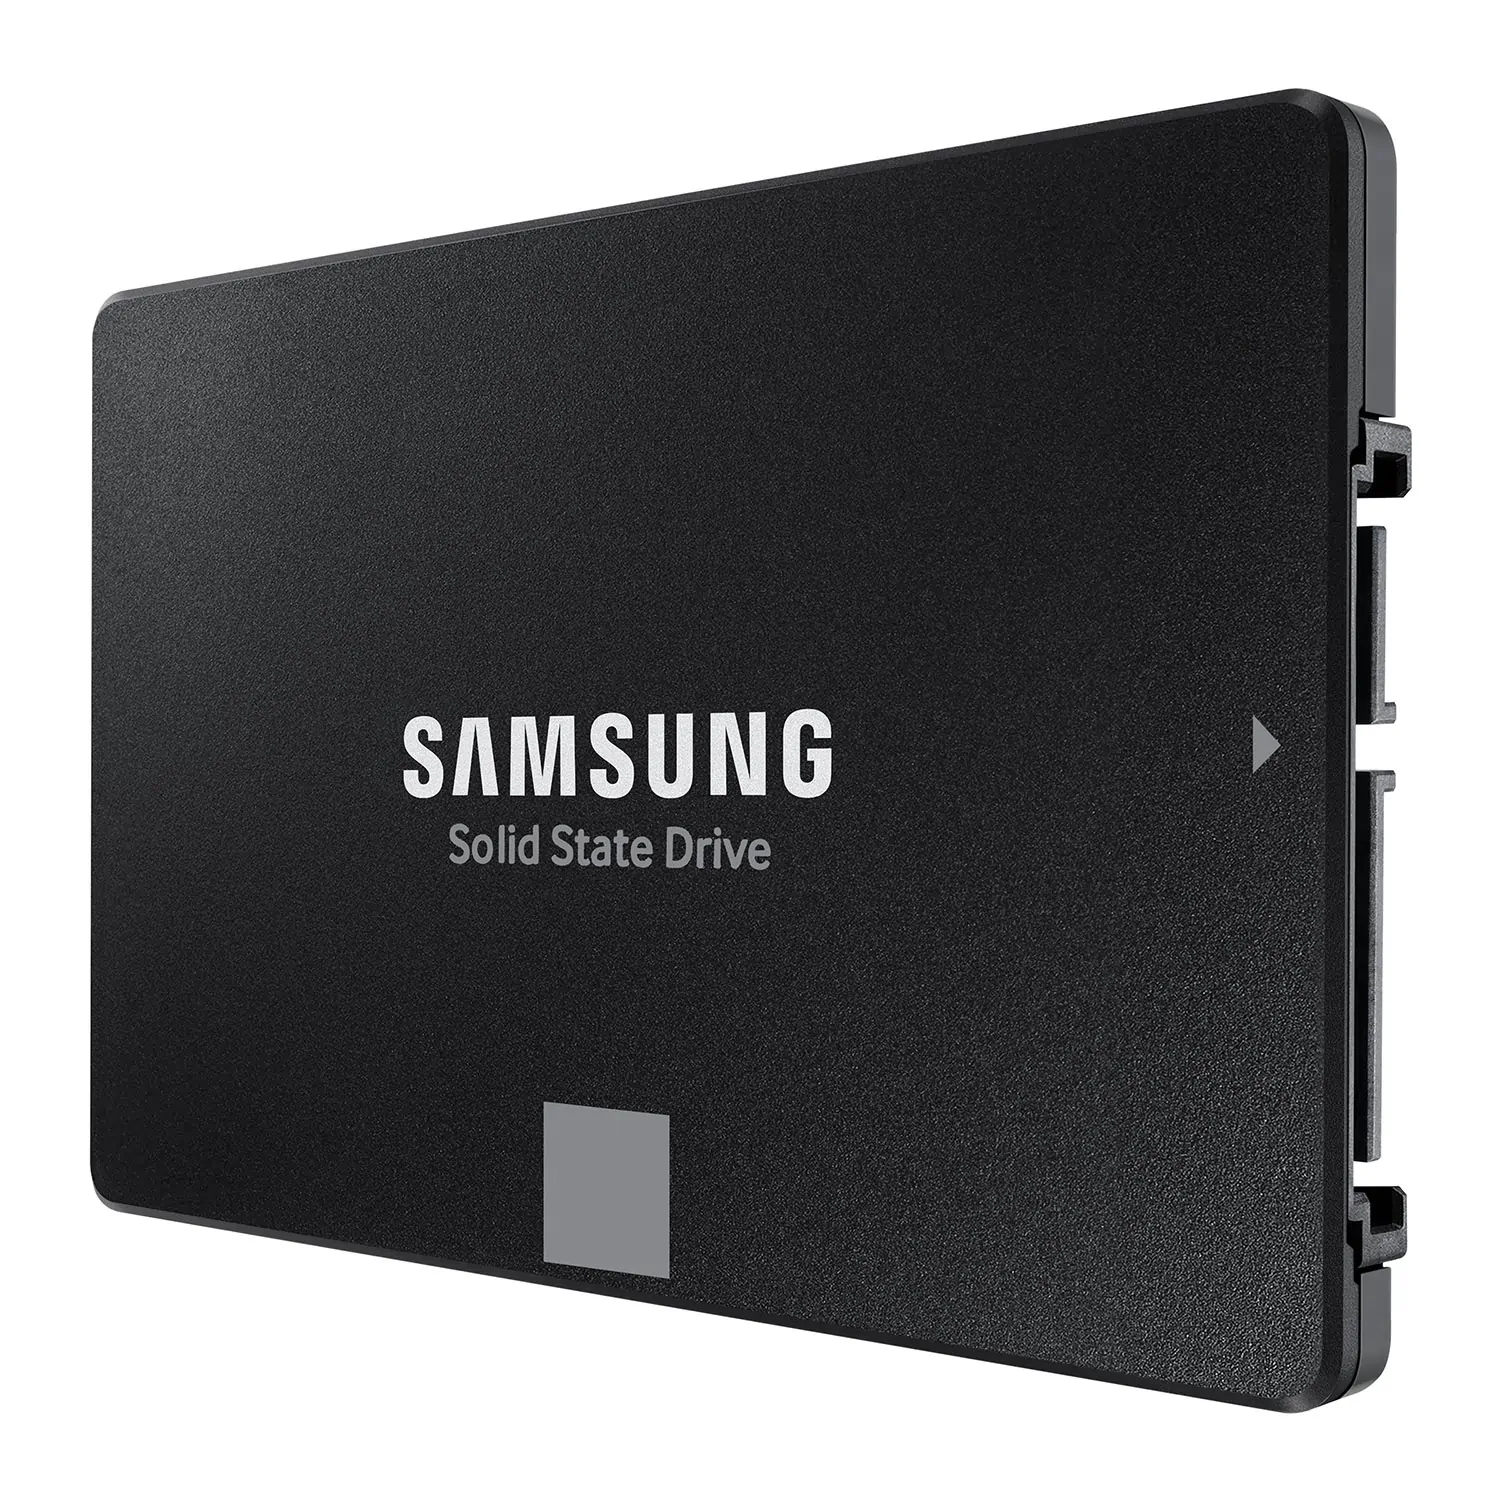
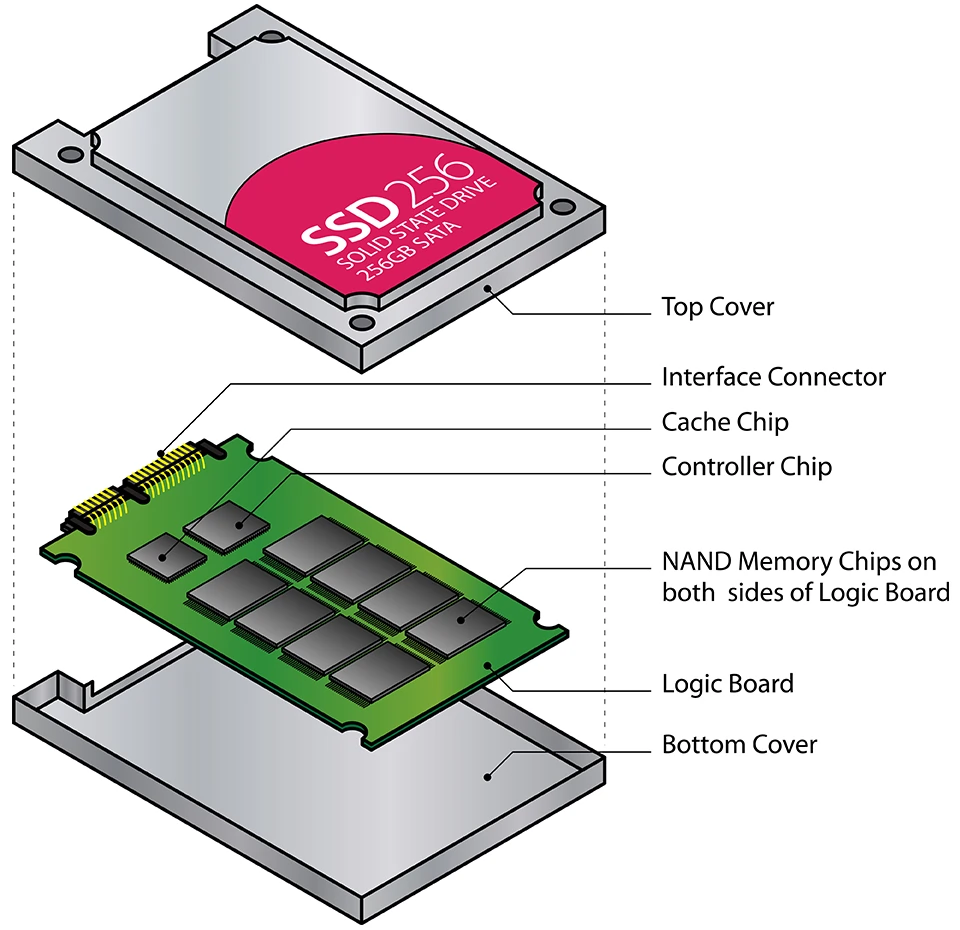
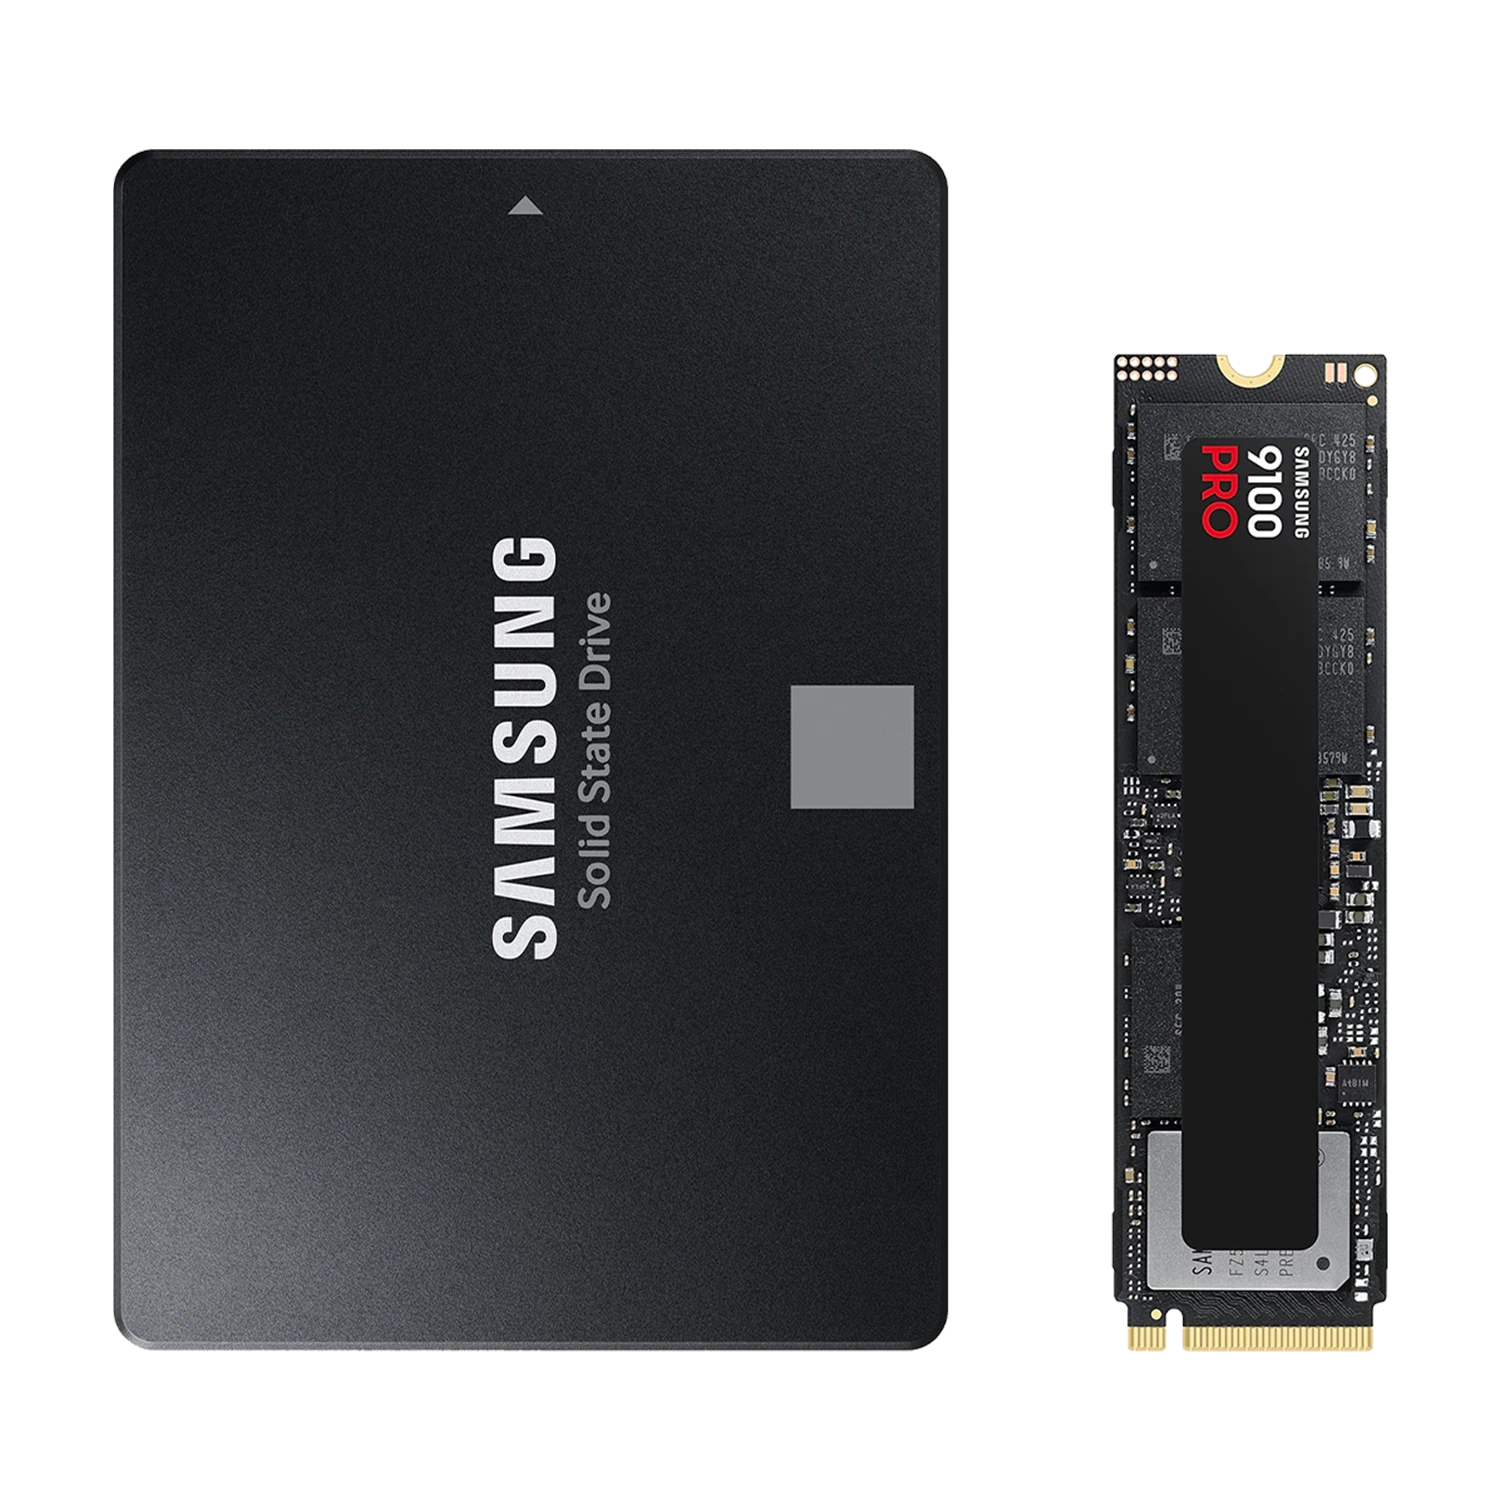
SSD Buying Guide

What are SSDs?

SSDs (solid state drives) are the highest performance type of data storage drive for desktop PCs, laptops and workstations. SSDs store data by populating memory cells, as opposed to HDDs (hard disk drives) which use spinning magnetic platters. SSDs are usually distinguished by a colour or name to show what use they are intended for.

Although SSD is a much newer faster technology both types of storage drive still have a place, as their features and costs differ significantly. In this guide we’ll run you through all the details of the types of SSDs - how they work, the pros and cons of each and the scenarios where each is best suited. If you want information on hard disk drives or either type of drives for server usage, you can learn more by reading our HDD Buyers Guide or Datacentre Storage Drive Buyers Guide.

What SSDs Should I Choose?

In most cases the type of device you are using will dictate to a large degree what kind of storage drive to choose - this may be due to size and weight, cost, performance or a combination of these.

SSDs for Desktops

Most desktop PC cases have M.2 slots and 2.5 or 3.5in drive bays for adding more SSDs. SSDs are the best choice for the system drive and games as they are much faster than HDDs.

However, HDDs still have a role to play in desktop PCs, providing a cost-effective way to storing large files or less performance sensitive data such as documents, videos, music and photos. You can learn more about high capacity storage in our dedicated HDD Buyers Guide.

SSDs for Laptops

Primarily, choosing a laptop drive will be driven by the style of the laptop - an ultralight or thin device will require an M.2 SSD, whereas a regular laptop may have a 2.5in drive bay as well. For the M.2 size SSD is the only choice, but in 2.5in you could choose an SSD or HDD. SSDs are the best choice for the system drive and games as they are much faster than HDDs.

SSDs are also ideal for laptops as they have no moving parts so are more resilient to damage, are lighter and consume less power, helping to boost battery life.

SSDs for Workstations

For a workstation system drive, again SSD is the ideal choice due to the lower performance of HDDs. Much like a desktop PC, there may be additional drive bays within a workstation chassis, and again the type of use should dictate your drive choice. An SSD will be perfect if you have large files that you regularly need to access and update, such as design work, music or video editing. If the extra space is for bulk media archiving, then SDD / HDD combinations are the way to go for capacity and cost savings. If you’re storing mission critical data then you may want to consider using RAID to protect it - it does have an impact on the usable storage capacity you will get, but we’ll cover this later. The choice of SSD type will come down to capacity required versus the number of drive bays in the case.

SSDs for NAS

NAS (Network Attached Storage) boxes are a little different. Firstly the OS is inbuilt on the system, so you’re only looking for data storage drives. A NAS box is a good way to share files in a home or small office environment and you can choose SSDs or HDDs for your NAS. However, we would only recommended SSDs if you are directly connected to the NAS – the extra speed of SSDs will be lost over most network connections. In most cases high capacity 3.5in HDDs are the way to go. You can learn more about storage drives for NAS boxes by reading our dedicated NAS buyers guide.

Storage Drive Sizes and Interfaces

Now we’ve mentioned broadly the type of drive to look for depending on your device, let’s look at the difference between them in more detail. There are a number of SSD types available, depending on their physical size and how they connect to your device. Although it’s worth starting with the interface, you’ll also need to check within your system to understand what drive bays are available - both size and in number if you are looking to use multiple drives.

The various drive sizes can also have different types of interface that will affect performance, as well as the number of drives that can be installed within any given device. The tabs below give a summary of the performance of each interface and which of the interface options are available in each drive size.

SATA

SATA is a very common type of interface for 2.5in SSDs and is found on the motherboard or PCIe storage controller. There have been several generations of SATA, the latest being SATA-III, each delivering increasing throughput speeds - the maximum now being 600MB/sec.

2.5in SSDs M.2 SSDs
yes
yes

M.2 NVMe

The M.2 is a slot designed for SSDs that plug directly into the motherboard, offering a choice between either an M.2 SATA SSD or an M.2 NVMe SSD. Due to their small size M.2 drives tend to be lower capacity than 2.5in SSDs. As M.2 SATA drives still use the SATA-III interface then maximum performance is 600MB/sec, whereas an M.2 NVMe SSD would benefit from speeds up to 15.8GB/s using four lanes of PCIe 5.0.

Beware that while most M.2 drives are 80mm long, some high capacity drives are 110mm long and will not fit in all motherboards. Check your motherboard manual before buying.

2.5in SSDs M.2 SSDs
no
yes

U.2 / U.3 NVMe

The U.2 NVMe connector is also found on the motherboard and connects to the PCIe bus, however a cable is required rather than it being a direct fit like the M.2 connector. It delivers the same 15.8GB/s performance using PCIe 5.0, though the U.2 interface supports SSDs in the more common 2.5in format so capacities can be bigger than more compact M.2 SSDs.

U.3 is a new interface standard that is an evolution of U.2, the main benefit being that the disk backplane inside the server chassis can carry SATA or NVMe signals through one physical connector and one cable - this results in fewer cables inside the server which in theory means lower server cost.

2.5in SSDs M.2 SSDs
yes
no

SSD vs HDD

Although this is an SSD guide, there is no escaping the fact that SSDs and HDDs are interchangeable and complementary in some cases. So it is worth knowing the difference between them, as there are advantages and disadvantages to each, whether it be performance, cost or noise - the below table shows a feature comparison of HDDs and SSDs.

HDD SSD Comparison
Performance Hundreds of MB/sec Thousands of MB/sec SSDs are much faster
Access Times 5-8ms 0.1ms SSDs have almost no latency
Reliability 2-5% failure rate 0.5% failure rate SSDs are much more reliable
Resilience Susceptible to vibrations No moving parts SSDs are much safer to install in a laptop
Energy Use 6-15W 2-5W SSDs are much more energy efficient
Noise 20-40dB Silent No noise from SSDs
Capacity Up to 26TB Up to 15TB HDDs provide more capacity
Cost £-££ ££ - ££££ SSDs are more expensive, especially at high capacities

Although SSDs clearly have the edge over HDDs in most aspects, there are still specific uses where HDDs excel, dictated by their price to performance ratio. HDDs are much more cost-effective than SSDs - a key fact in a use case such as data archiving, where capacity is more important than access speed. This higher performance is due to how SSDs work, as shown below.

How SSDs Work

Like an HDD, SSDs stored data is kept in place when there is no power to the drive. However, that is where the similarity ends – unlike HDDs which store data magnetically on spinning platters, SSDs store data on memory chips called NAND. This is where the term solid state comes, because there are no moving parts within the drive. As writing and reading from NAND doesn’t require a physical arm to access the data, performance is much faster. NAND is made up of transistors in columns and rows which can either conduct current (1) or don’t conduct current (0). When power is applied to this network of transistors (called cells) a pattern of 1s and 0s is formed to store data.

NAND memory can be classed in several types based on how many 1s and 0s can be stored in each cell. Single-Level Cell (SLC) NAND stores one bit - either a 1 or a 0 - per cell, whereas Multi-Level Cell (MLC) NAND stores two bits per cell. Triple-Level Cell (TLC) NAND stores three bits per cell and Quad-Level (QLC) NAND stores four bits per cell. Each of these types offer differences in maximum capacity, longevity, reliability and cost. Although an SSD contains no moving parts to fatigue, the cells within NAND do wear out through repeated Program (writing) / Erasing (P/E) cycles, although the drive controller will work to spread data evenly across the cells to create consistent wear across the whole capacity. The below table highlights the performance, cost and typical uses of the different types of NAND.

Quad level Cell
(QLC)
Triple level Cell
(TLC)
Multi level Cell
(MLC)
Single Level Cell
(SLC)
Architecture 4-bits per cell 3-bits per cell 2-bits per cell 1-bits per cell
Capacity Highest capacity High capacity Medium Capacity Lowest Capacity
Endurance Lowest Endurance (~1,000 cycles) Medium endurance (~3,000 cycles) High Endurance (~10,000 cycles) Highest Endurance (~100,000 cycles)
Use Read Read / Write Write / Read Write
Typical Devices Laptops / Desktops Laptops / Desktops / Workstations Desktops / Workstations / Servers Servers
Cost £ ££ £££ ££££

Data Security

When considering which SSD to buy it is vital to understand about how best to protect the data on your drives. This can be achieved in a number of ways using RAID technology. RAID stands for redundant array of independent disks and it is a way of spreading the data across multiple drives to remove the chance of a single point of failure. It works by blocks of data, referred to as parity blocks, being distributed across the multiple drives so that in the event of failure of any one drive the parity blocks can be used to retrieve the lost data and rebuild the array. RAID levels are categorised by number and their attributes vary with each type.

RAID 0

RAID 0 is the fastest RAID mode since it stripes data across all of the array’s drives and as the capacities of each drive are added together it results in the highest capacity of any RAID type. However, RAID 0 lacks a very important feature - data protection. If one drive fails, all data becomes inaccessible, so while RAID 0 configuration may be ideal for gaming where performance matters but data is not important, it is not recommended for storing critical data.

RAID 1

RAID 1 works across a maximum of two drives and provides data security since all data is written to both drives in the array. If a single drive fails, data remains available on the other drive, however, due to the time it takes to write data multiple times, performance is reduced. Additionally, RAID 1 reduces disk capacity by 50% since each bit of data is stored on both disks in the array. RAID 1 configurations are most commonly seen when mirroring drives that contain the operating system (OS) in enterprise servers, providing a back-up copy.

RAID 5

RAID 5 writes data across all drives in the array and to a parity block for each data block. If one drive fails, the data from the failed drive can be rebuilt onto a replacement drive. A minimum of three drives is required to create a RAID 5 array, and the capacity of a single drive is lost from useable storage due to the parity blocks. For example, if four 2TB drives were employed in a RAID 5 array, the useable capacity would be 3x 2TB = 6TB. Although some capacity is lost, the performance is almost as good as RAID 0, so RAID 5 is often seen as the sweet spot for many workstation and NAS uses.

RAID 6

RAID 6 writes data across all drives in the array, like RAID 5, but two parity blocks are used for each data block. This means that two drives can fail in the array without loss of data, as it can be rebuilt onto replacement drives. A minimum of four drives is required to create a RAID 6 array, although due to the dual parity block, two drives capacities are lost - for example if you had five 2TB drives in an array, the usable capacity would be 3x 2TB = 6TB. Typically due to this security versus capacity trade-off, RAID 6 would usually only be employed in NAS appliances and servers with critical data.

RAID 10

RAID 10 is referred to as a nested RAID configuration as it combines the protection of RAID 1 with the performance of RAID 0. Using four drives as an example, RAID 10 creates two RAID 1 arrays, and then combines them into a RAID 0 array. Such configurations offer exceptional data protection, allowing for two drives to fail across two RAID 1 segments. Additionally, due to the RAID 0 stripe, it provides users high performance when managing greater amounts of smaller files, so is often seen in database servers.

RAID 50

RAID 50 is referred to as a nested RAID configuration as it combines the parity protection of RAID 5 with the performance of RAID 0. Due to the speed of RAID 0 striping, RAID 50 improves upon RAID 5 performance, especially during writes, and also offers more protection than a single RAID level. RAID 50 is often employed in larger servers when you need improved fault tolerance, high capacity and fast write speeds. A minimum of six drives is required for a RAID 50 array, although the more drives in the array the longer it will take to initialise and rebuild data due to the large storage capacity.

RAID 60

RAID 60 is referred to as a nested RAID configuration as it combines the double parity protection of RAID 6 with the performance of RAID 0. Due to the speed of RAID 0 striping, RAID 60 improves upon RAID 6 performance, especially during writes, and also offers more protection than a single RAID level. RAID 60 is often employed in larger server deployments when you need exceptional fault tolerance, high capacity and fast write speeds. A minimum of eight drives is required for a RAID 60 array, although the more drives in the array the longer it will take to initialise and rebuild data due to the large storage capacity.

Systems that support RAID arrays will usually have a hot-swap capability, meaning that a failed drive can be removed from the array without powering the system down. A new drive is put in the failed drives place and the array rebuild begins - automatically. You can also configure a hot spare drive - an empty drive that sits in the array doing nothing until a drive fails, meaning that the rebuild can start without the failed drive being removed first.

It is also worth mentioning that multiple RAID arrays can be configured in a single system - it may be that RAID 1 is employed to protect a pair of SSDs for the OS, whereas multiple drives are protected by RAID 6 including hot spare drives too. Ultimately however, the RAID configuration(s) you choose need to be controlled, either by software on the system or additional hardware within it. Let’s take a look at the options.

Hardware RAID

In a hardware RAID setup, the drives connect to a RAID controller card inserted in a PCIe slot or integrated into the motherboard. This works the same for larger servers as well as workstations and desktop computers, and many external drive enclosures have a RAID controller built in. High-end hardware RAID controllers can be upgraded with a cache protector, these comprise a small capacitor which in the event of power loss keeps powering the cache memory on the RAID controller for as long as three years. Without a cache protector, data stored in the RAID controllers cache will be lost and could cause data corruption.

Advantages Disadvantages
• Better performance, especially in more complex RAID configurations. Processing is handled by the dedicated RAID processor rather than the CPUs which results in less strain on the system when writing backups, and less downtime when restoring data

• Has more RAID configuration options including hybrid configurations which may not be available with certain OSes

• Compatible across different OSes. This is critical if you plan to access your RAID system from say, Mac and Windows. Hardware RAID would be recognisable by any system
• Since there’s more hardware, there’s more cost involved in the initial setup

• Inconsistent performance for certain hardware RAID setups when using SSDs

• Older RAID controllers disable the built-in fast caching functionality of SSDs that are needed for efficient programming and erasing onto the drive

Chipset RAID

Many AMD and Intel motherboard chipsets support some of the basic types of RAID, potentially negating the need for a hardware RAID controller.

Advantages Disadvantages
• No additional cost - all you need to do is connect the drives and then configure them in the OS

• Modern CPUs are so powerful they can easily handle RAID 0 & 1 with no noticeable performance hit

• You’re restricted to the RAID levels your motherboard chipset supports

• Performance hit if you’re using more complex RAID configurations

• Limited performance and resilience compared to hardware RAID controller

• If the motherboard dies you lose access to the RAID array

Software RAID

The third and final type of RAID array is called software RAID and is when you use the operating system to create a RAID. Numerous operating systems support RAID, including Windows and Linux.

Advantages Disadvantages
• No additional cost - all you need to do is connect the drives and then configure them in the OS

•Modern CPUs are so powerful they can easily handle RAID 0 & 1 with no noticeable performance hit

• Software RAID is often specific to the OS being used, so it can’t generally be used for drive arrays that are shared between operating systems

• You’re restricted to the RAID levels your specific OS can support

• Performance hit if you’re using more complex RAID configurations

• If the OS dies you lose access to the RAID array

Ready to buy?

Browse our range of SSDs.

2.5in SSDs >

M.2 SATA SSDs >

M.2 NVMe SSDs >

Alternatively, if you have any further questions you’d like answering about SSDs and their installation, don’t hesitate to call one of our friendly advisors on 01204 474747. Also, don’t forget if you want information on HDDs, NAS-grade drives or drives for server usage, you can learn more by reading our HDD Buyers Guide, NAS Buyers Guide or Datacentre Storage Drive Buyers Guide.