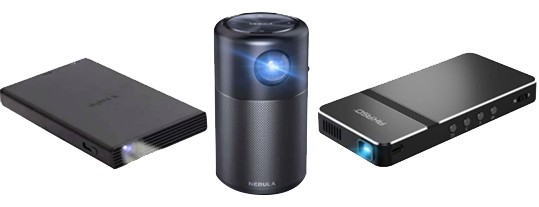
Image Creation
Projectors use one of three main technologies - Digital Light Processing (DLP), Liquid Crystal Display (LCD) or Liquid-Crystal on Silicon (LCoS). Each technology offers its own distinct advantages and disadvantages, depending on the type of content you want your projector to display and the setup of your room.
DLP projectors contain an array of microscopic mirrors that tilt toward or away from the light source to create a light or dark pixel on the screen. They are available in either single-chip or three-chip versions. Single-chip projectors use one panel to form the image so the resultant image is very sharp, but only black and white. A wheel that rotates between the three primary colours is used to enhance the monochrome image.

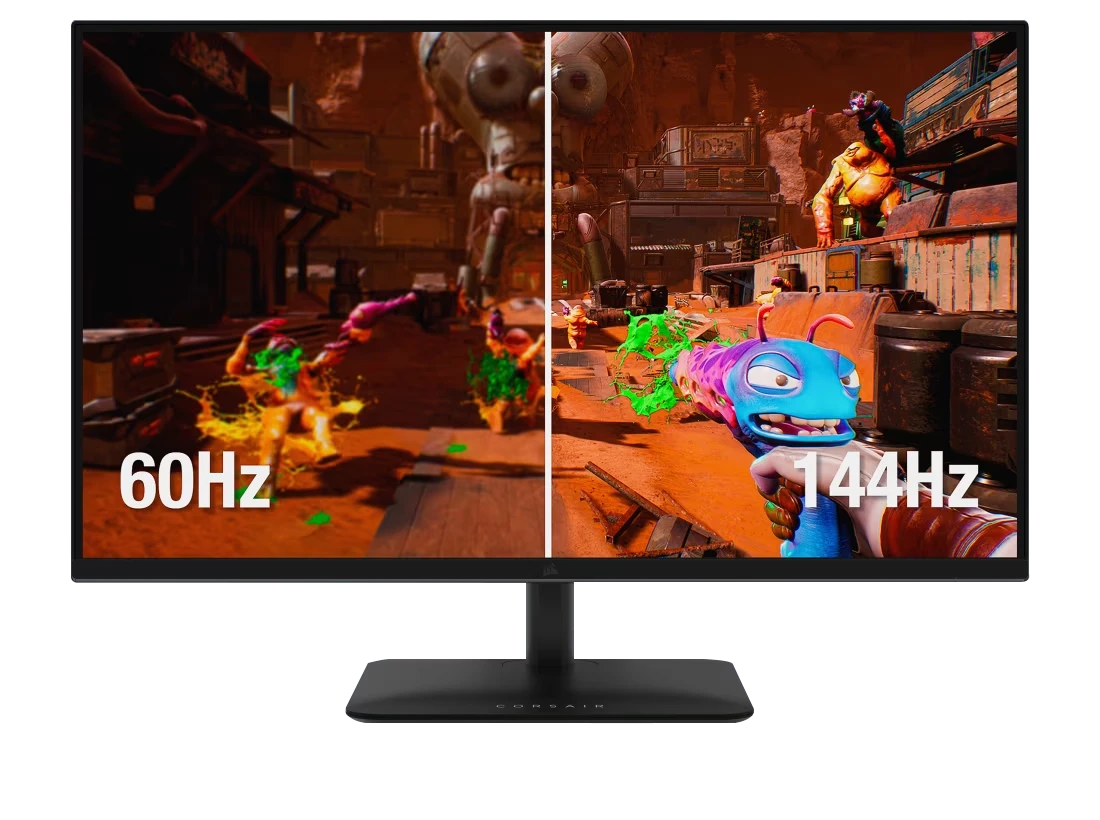
Three-chip projectors use a panel for each colour instead of a colour wheel, however getting all three panels in perfect alignment is harder and therefore requires a more complex and expensive design. Three-chip DLP projectors are usually the type used in cinemas, as they are capable of producing bigger, brighter images, with resolutions up to 4K, high colour gamuts. They also excel at 3D projection, as the mirrors turn completely on or off, 3D is free of the faint double images that can sometimes be produced by other technologies. Additionally, this instant on/off ability also makes three-chip projectors a good choice for sports with fast action and gaming because of their fast response and lower lag times.
LCD projectors shine a light through a single LCD panel and employ a colour wheel in a similar way to a single-chip DLP projector. They aren’t as bright as DLP projectors, but are better at producing deeper blacks than DLP projectors. Motion is not as sharp and fast as a DLP projector can produce, and 3D images can be less accurate too suffering from faint double images. On the plus side as LCD projection is an older technology, these are most affordable projectors.
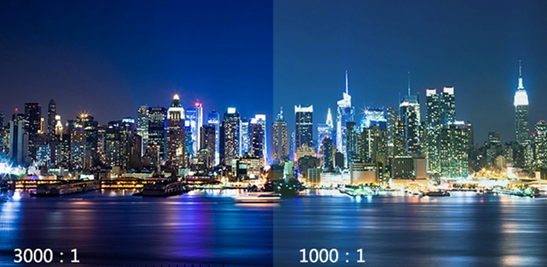
LCoS projectors, like an LCD projector, shine light through a panel to create an image. Unlike LCD projectors the light from a LCoS projector reflects off three individual LCoS colour panels, which are then combined to produce the image. By reflecting the light off the panel instead of shining light through it, LCoS projectors offer the darkest black levels and contrast ratios of any technology. Better black levels make the film more immersive when viewed in a dark room. Plus, the letterbox bars on CinemaScope-format movies disappear and shadows look much better. Darker blacks also help increase the contrast ratio, which gives the image more pop.

Because LCoS projectors usually offer lower levels of light output, they often don’t work well when paired with very large screens. They also exhibit more image blurring on fast-moving images than DLP and some LCD projectors. For film, this isn’t an issue, but it makes them problematic if watching sports, 3D content or gaming. Additionally, LCoS projectors usually cannot offer the same brightness levels of DLP and LCD projectors - which makes these two types of projectors ideal for rooms where there is a high degree of ambient light, or if you like to watch TV with the lights on.