Battlefield 4 Domination Maps
Introduction
ESL is the main organization providing Battlefield 4 competitions like the Battlefield EMS One and the Go4BF4 cups. Together with the community, it is the one that sets the tone for the rules and settings that everyone has to adhere to. With this article we will take a closer look on the most famous maps played in these competitions. We will discuss their layouts and any specifics they might have. A short introduction for all the teams looking to enter the competitive scene of Battlefield 4.
As mentioned in a previous article, the dominant mode in the scene is Domination. This is an infantry based, smaller version of Conquest. The main objective is flag control, until the enemy team bleeds out of tickets. The maps contain 3 flags, and a 2 flag hold will make the opponent bleed. Hold all flags and you have a “Domination Lockdown”. This will make the team bleed even faster. In this mode the maps are quite small and flags are close to each other. This results in a very fast paced gameplay where flag control is exchanged regularly during the course of a round. Furthermore, the random spawn mechanism makes it possible for the enemy team to spawn right behind you. Professional teams will take the time to learn those random spawn points and maintain advantage on the battlefield.?
Dawnbreaker
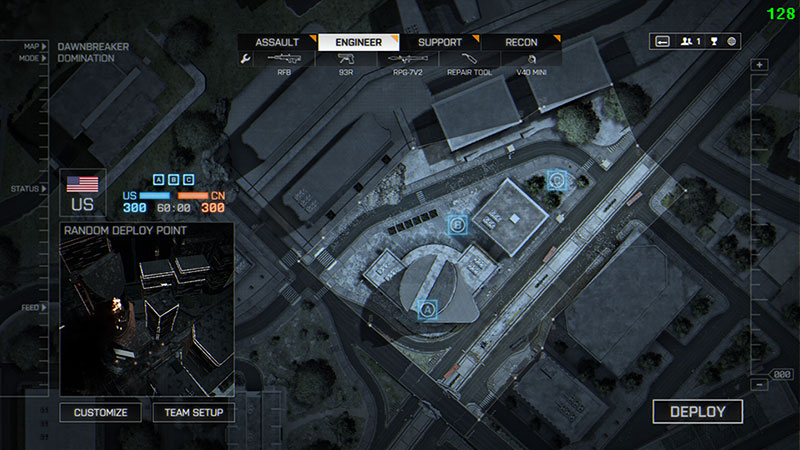
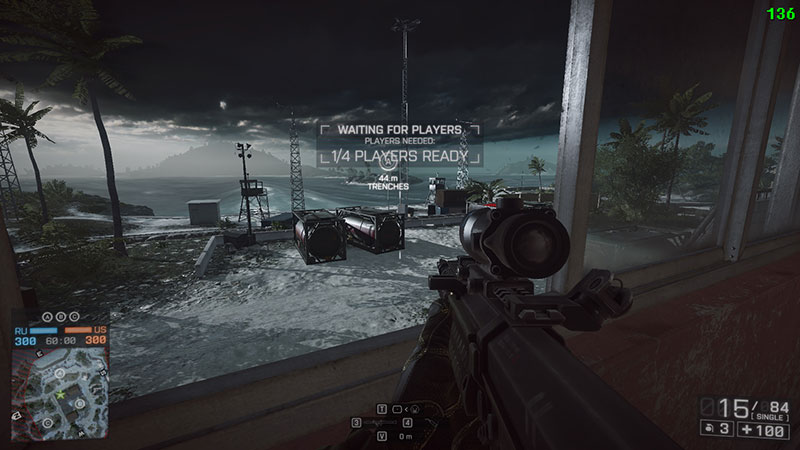
The only night map in Battlefield 4, features a linear layout with the A flag being inside and B and C in the open. This layout makes the B point the most contested one. Here the US teams spawns really close to C and will be the first with a capture and thus heading to B sooner. Fights occur in the corridor between C and A, and in the space around B. Some teams will ignore B and try for an A and C hold.
The upper balcony provides good visibility towards B as your team defends C.
Use the boxes to get higher and spot enemies.
The invincible stairs.
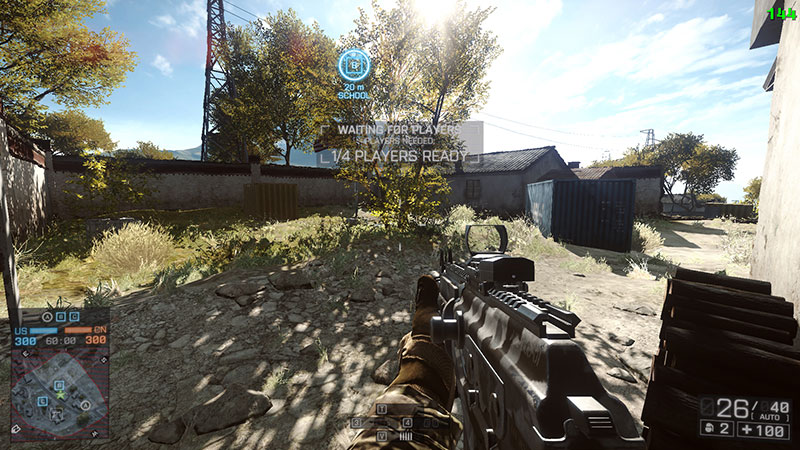
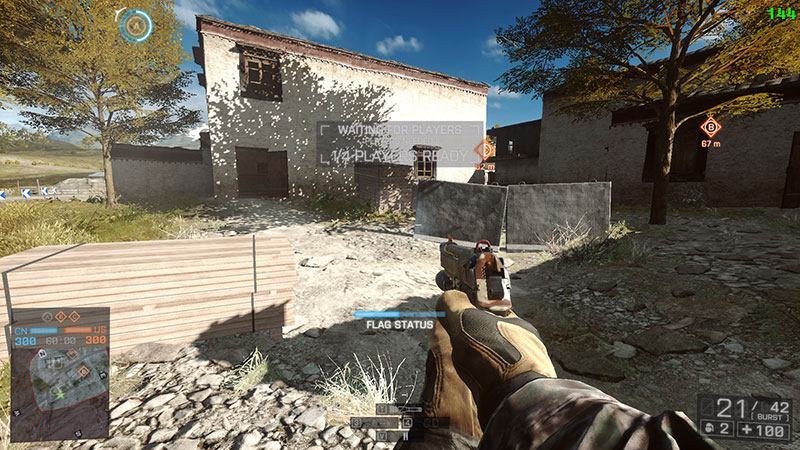
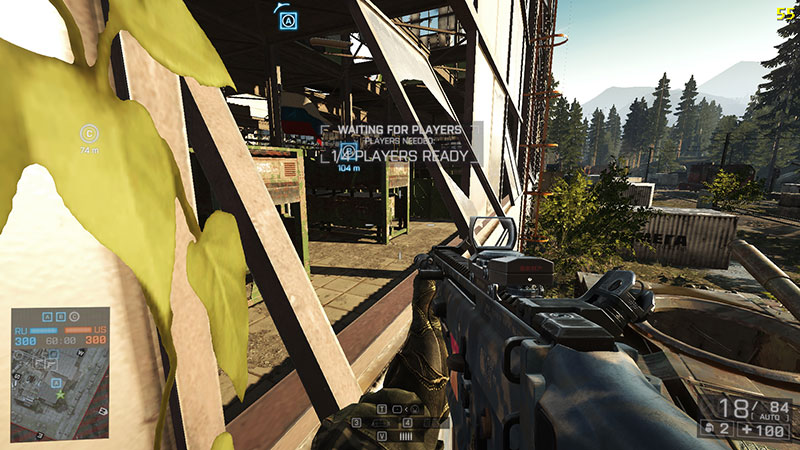
Goldmud Railway
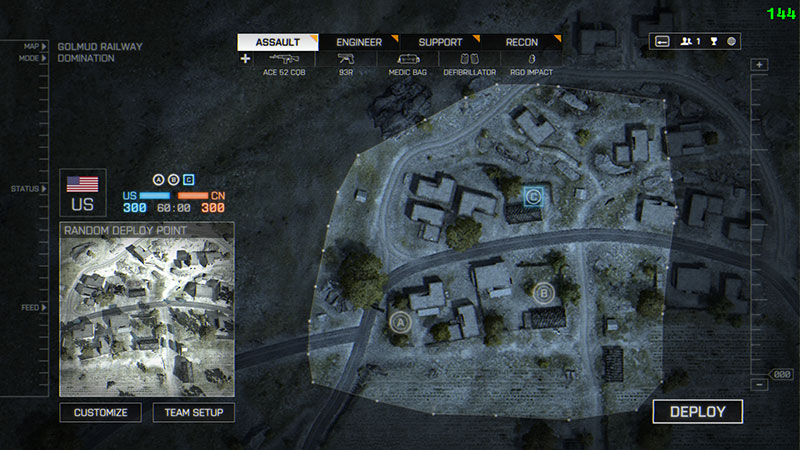
This desert map has an L shaped flag position. The RU will be closer to C whilst CN will need to cover some distance to A. Most often the RU will try and hold B and C. The CN on the other hand will look for A and B hold. Buildings here provide cover and players should pay attention to the windows. Usually, you will see an Engineer at the beginning of the match blowing those pesky buildings.
You need to be inside the yard to capture the point.
Strong map awareness helps anticipate your enemy’s attack position.
Operation Locker
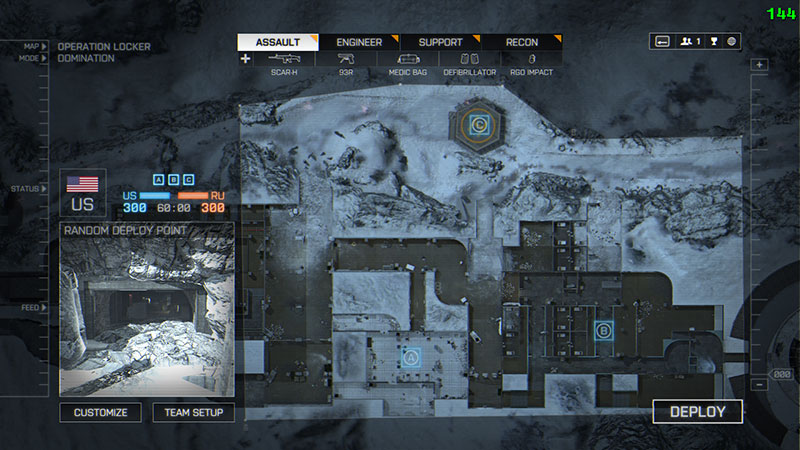
In this fan favorite and triangle shaped map you will have the US spawn at B and most often split and go for a B and C cap, while as a mirror image you would have the RU side go for an A and C cap. A is a flag that tends to be contested quite often, and with the multiple entries points for attack. This sometimes makes it a tough point to defend.
Blow up this to make more room in your attacks to A.
Don’t forget, these make sounds giving away your position.
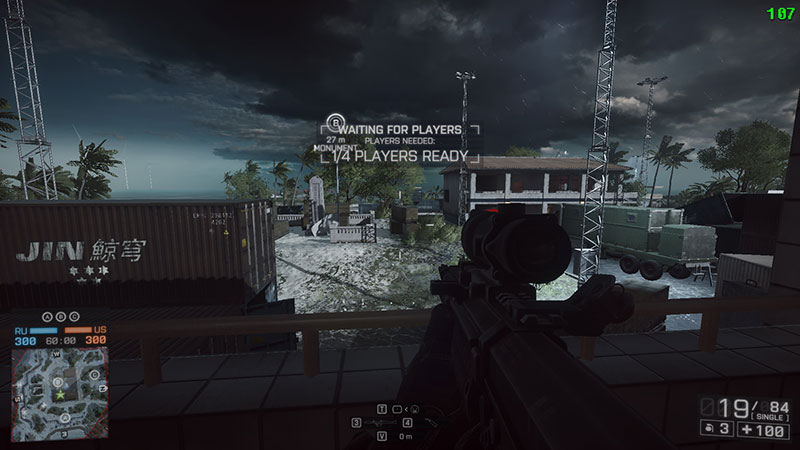
Parcel Storm
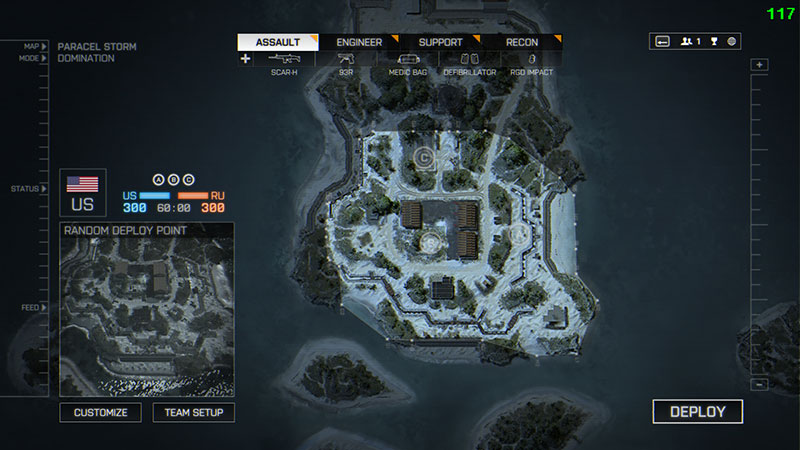
Yet another triangle shaped map. Here the US team will spawn between A and C. The RU on the other hand will be between A and B. The monument known as B flag, has a tiny capture area and with the buildings surrounding it, you will inevitably have an Engineer blowing them up, as they also provide cover towards A.
Overlooking B from the buildings.
They also help protect A
Expect the building to look like that at the end of the round.
Zavod 311
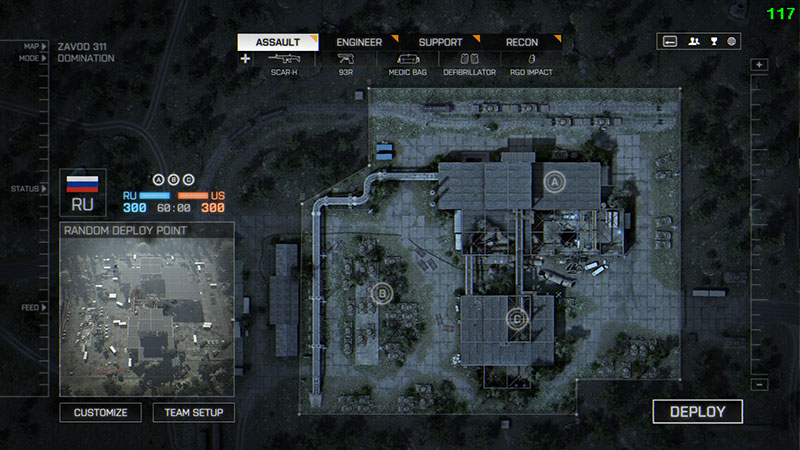
Another favorite but a tricky map, Zavod 311 is full of places with cover. The most often scenario here is for the RU team to push for the B and A cap. On the other hand the US will head towards a B and C cap. Rarely, you will see a team focusing on C and A, while leaving the opponent out in the openness of B.
Gun down enemies attacking A by shooting their legs without being noticed.
Get a vantage point when attacking A climbing on top of the tank turret.
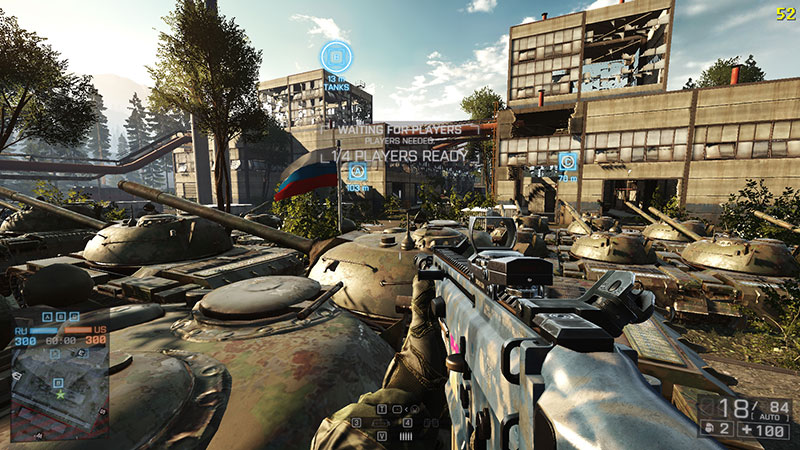
Another vantage point provided by the tanks lined in front of B point.
Callouts
Communication together with map awareness are key for a successful team in a Domination round. Callouts are essential to mastering both. These are names of places that help your teammates understand where exactly you have just been taken out. Have your team name all the important places in those maps and of course, know them by heart. To help your teammates even more, say the nickname of the enemy that cost you a ticket, or just started flanking your control point. If they manage to take him down, they know the danger has gone away.
Conclusion
I hope this short guide will help you better understand the maps being played in the competitive scene. There are several other maps, but these are the ones you need to master. This means you need to know every little corner and every little detail. So, get your guns ready and start practicing.
Dimitar Alourdas